Thing 2 recently learned how to tie her shoes. She did find it rather frustrating when she was told over and over again to tie the knots 5 more times for practice. I have been working to master the twist knot bracelet and one day Thing 2 was in the sanctuary with me looking for something to do. Since she has now mastered the shoe laces, I thought she would enjoy learning how to make a twist knot bracelet with embroidery floss.
On one of our many trips to Joann Fabrics we had picked up an large bag of floss so we have plenty of colours to choose from.
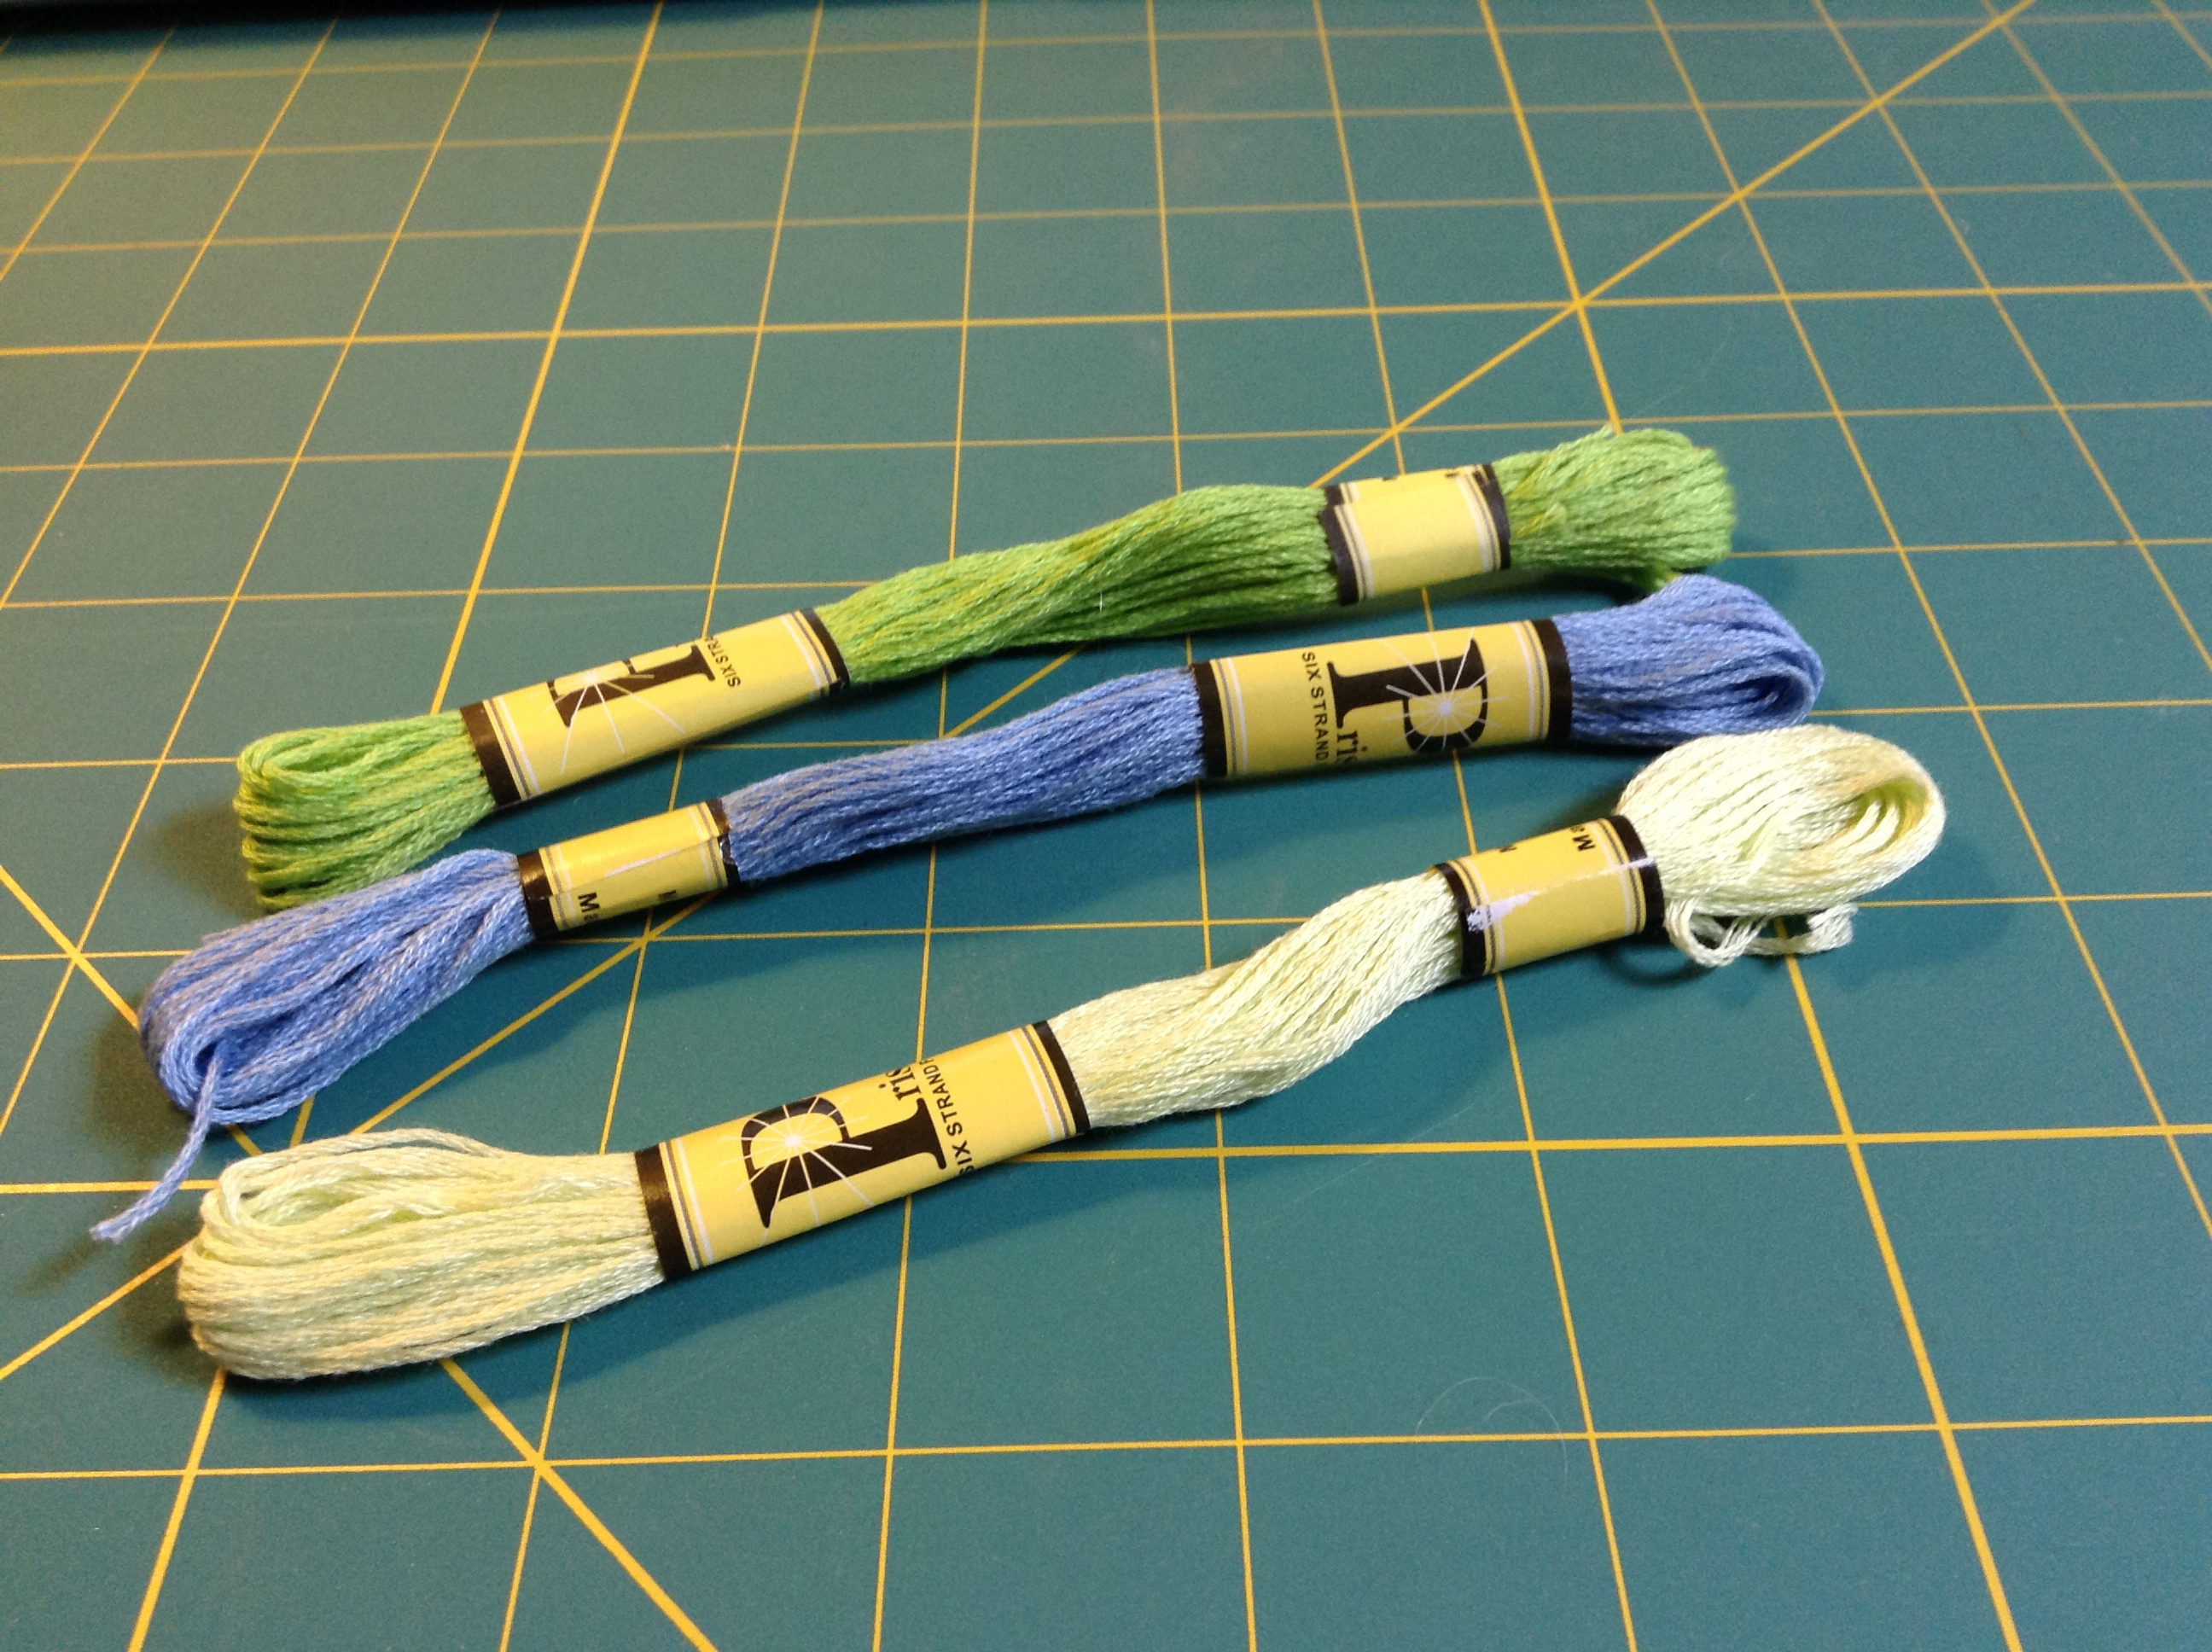
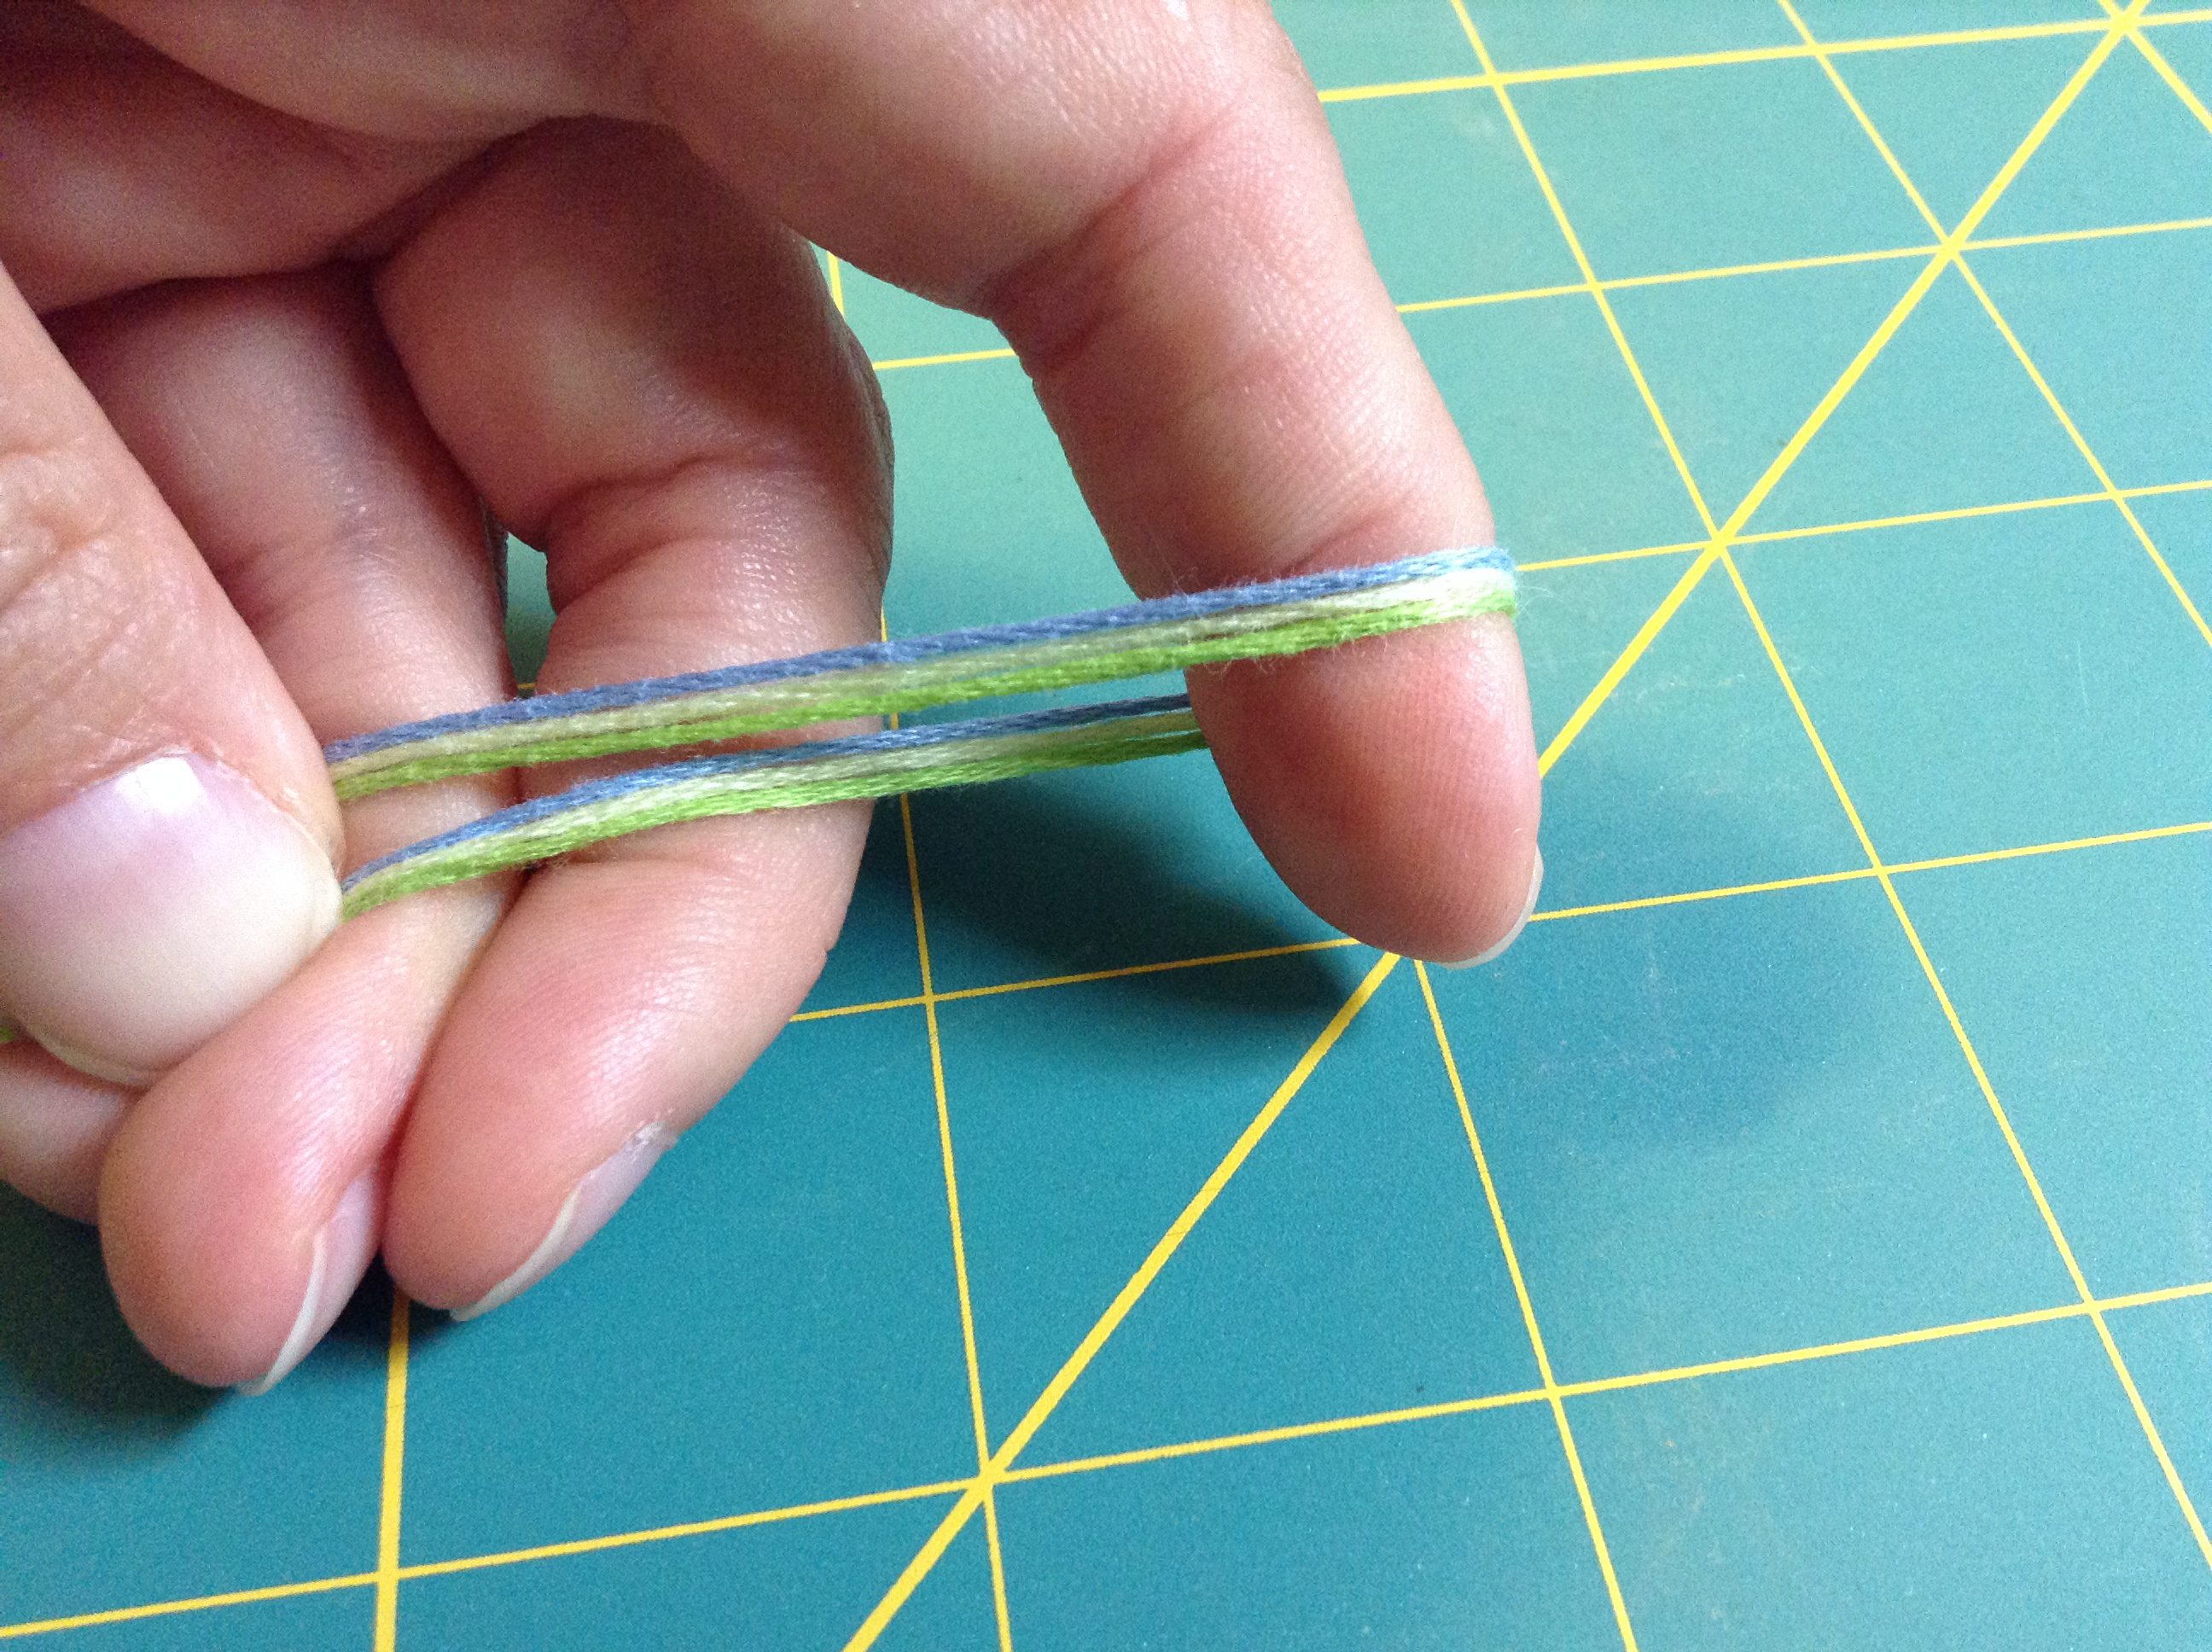
Start with three complimentary colours of floss. I chose a lime green, pale yellow and periwinkle blue.
Measure out the floss, approximately the length from your shoulder to palm, three times, for each of the colours of floss.
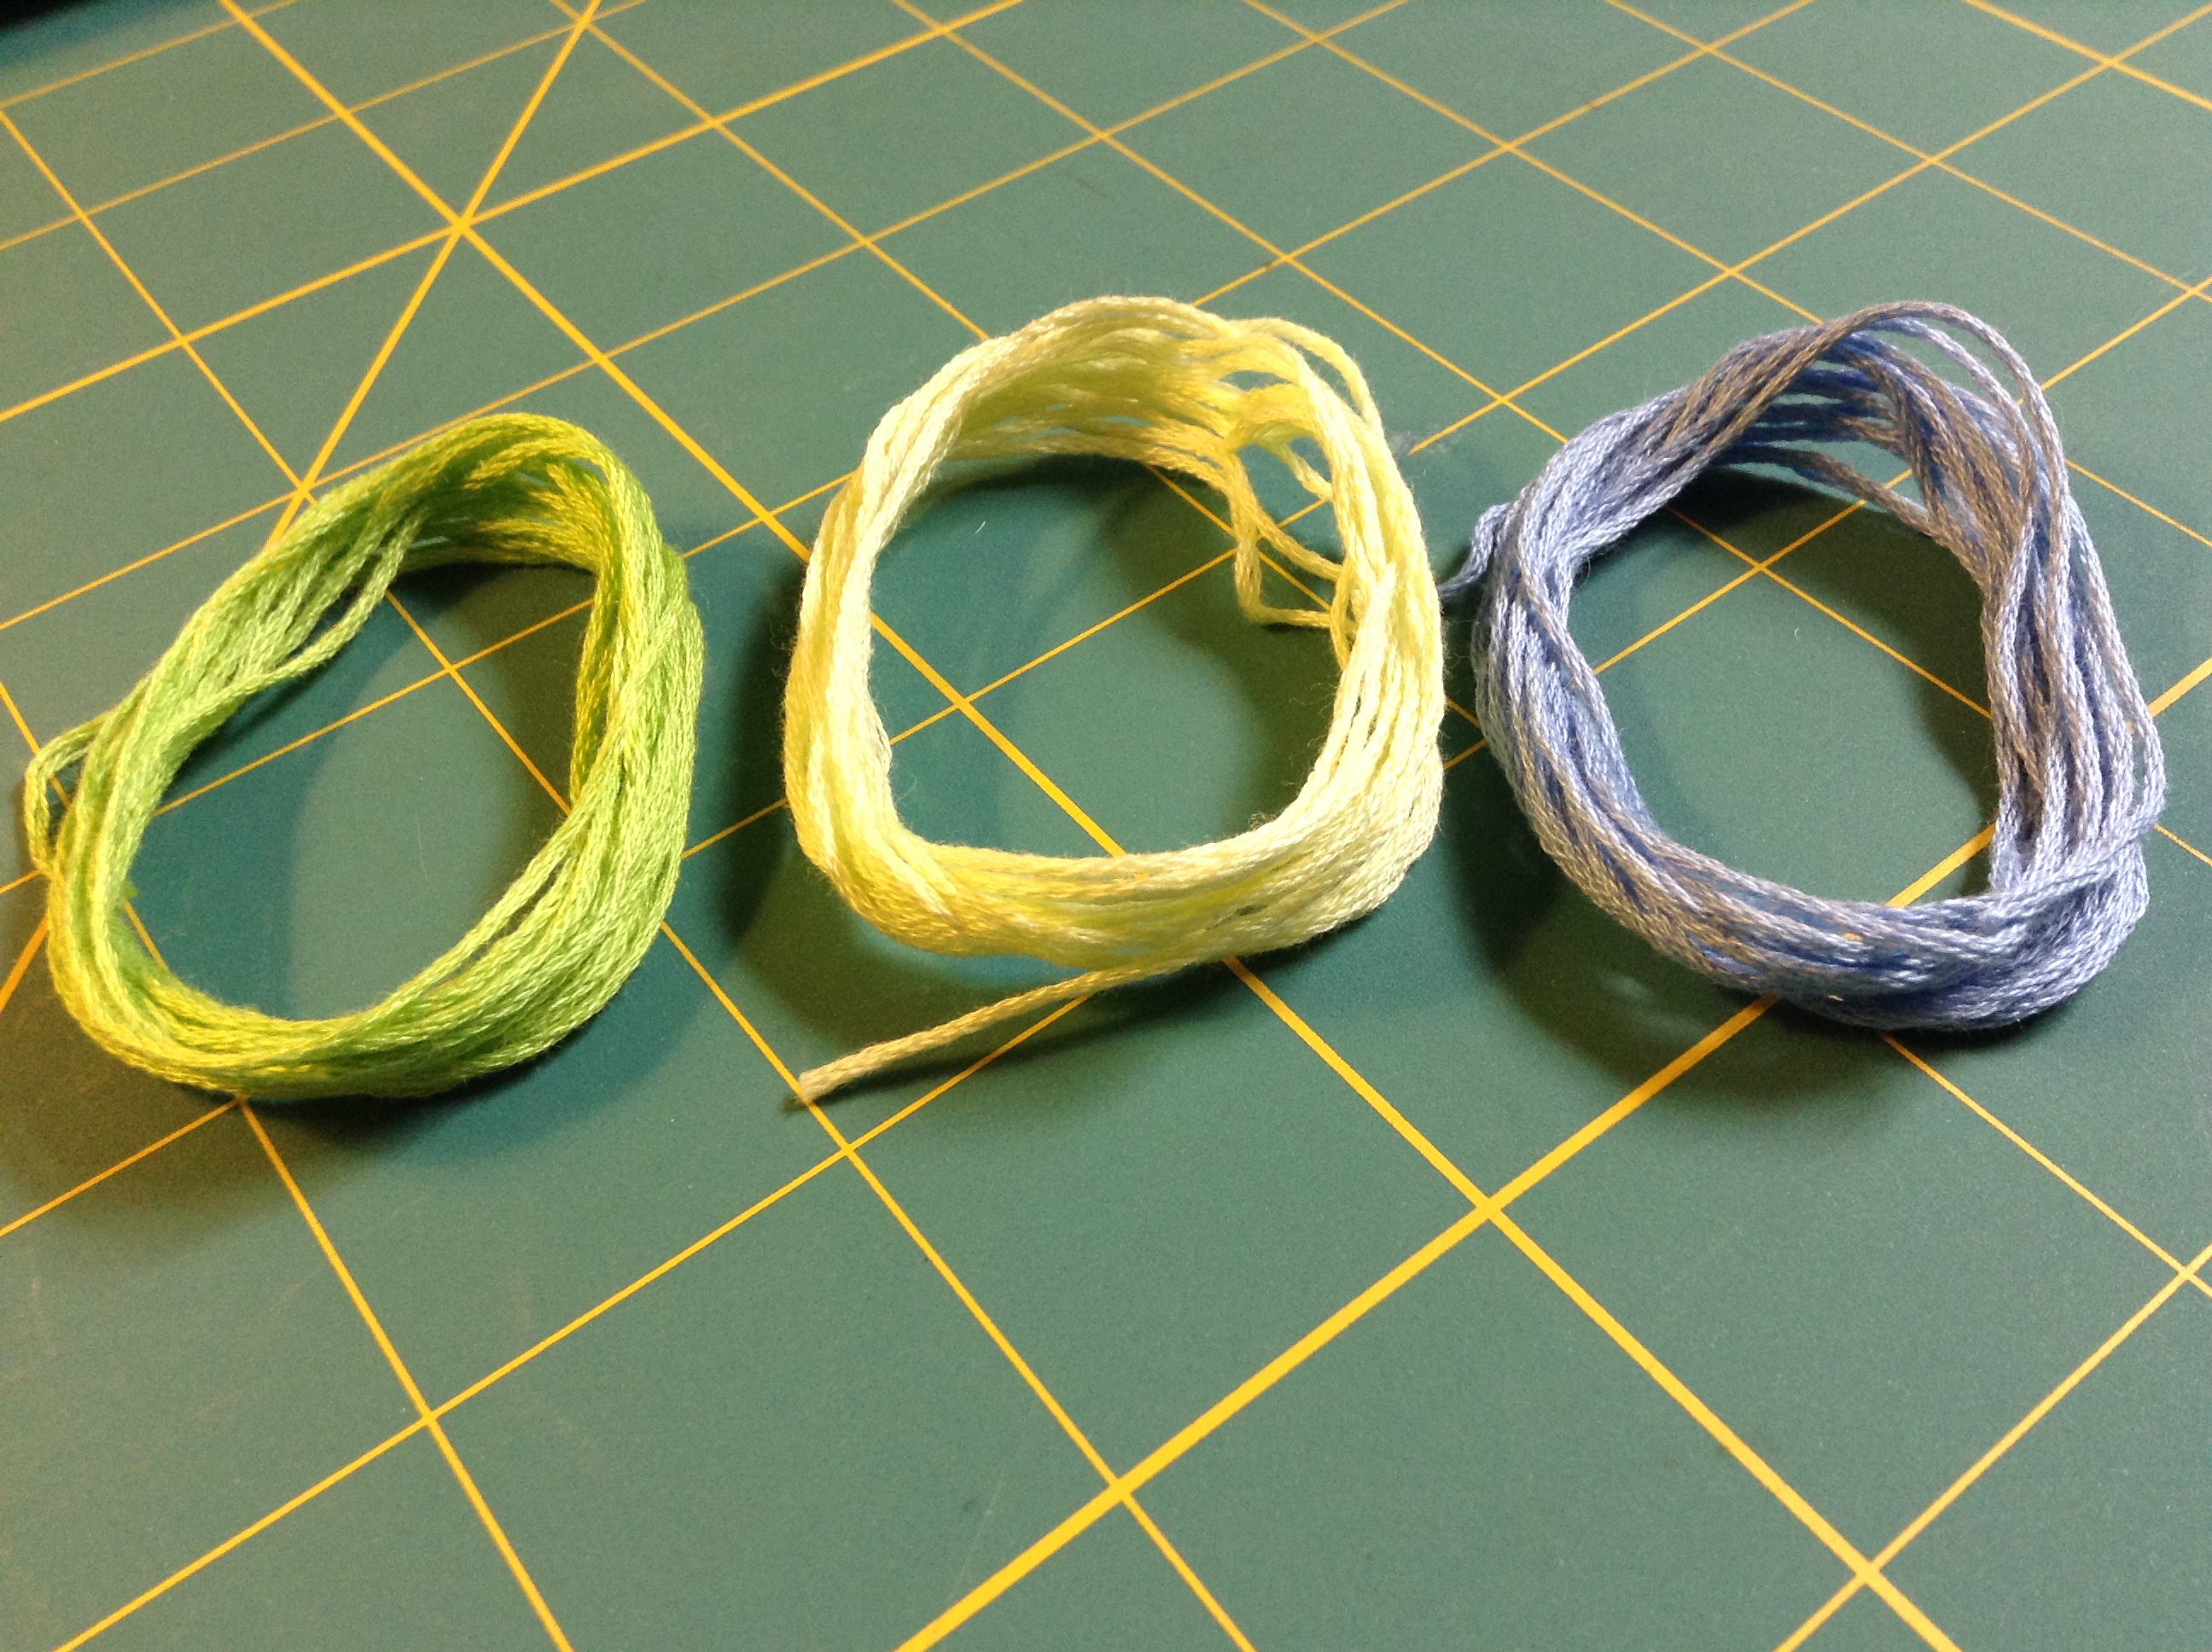
Lay all the strands of floss out and fold at the center point.
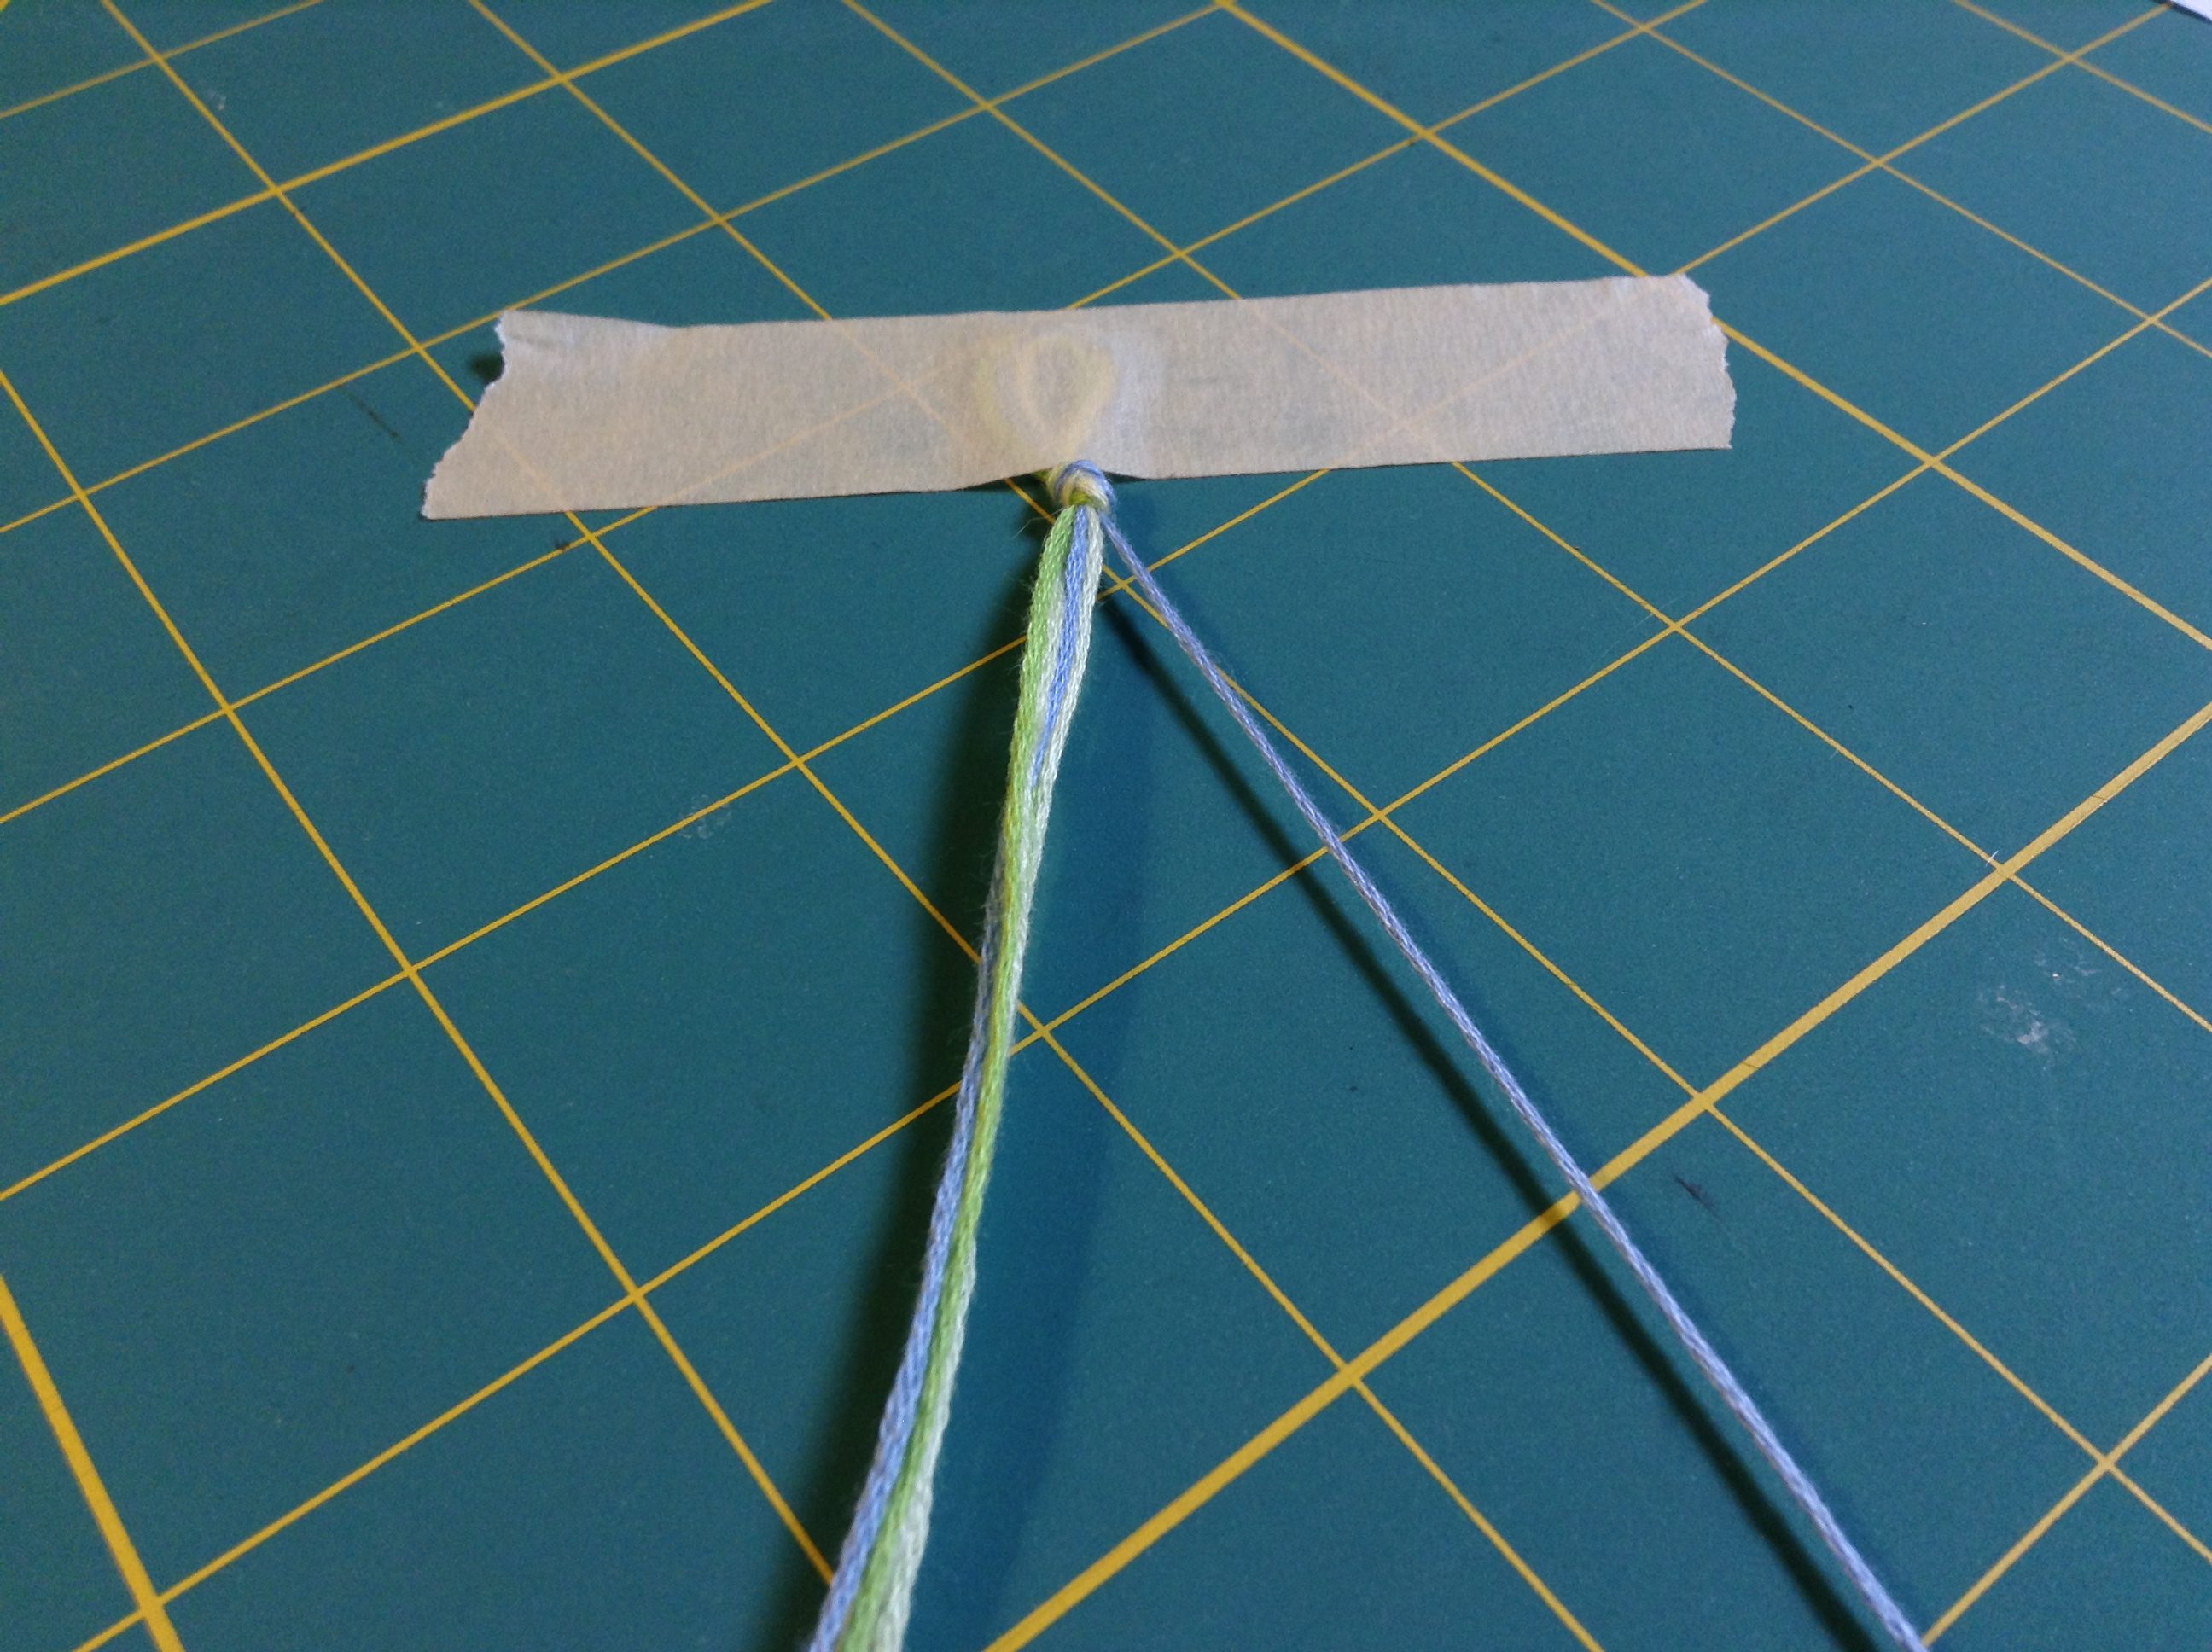
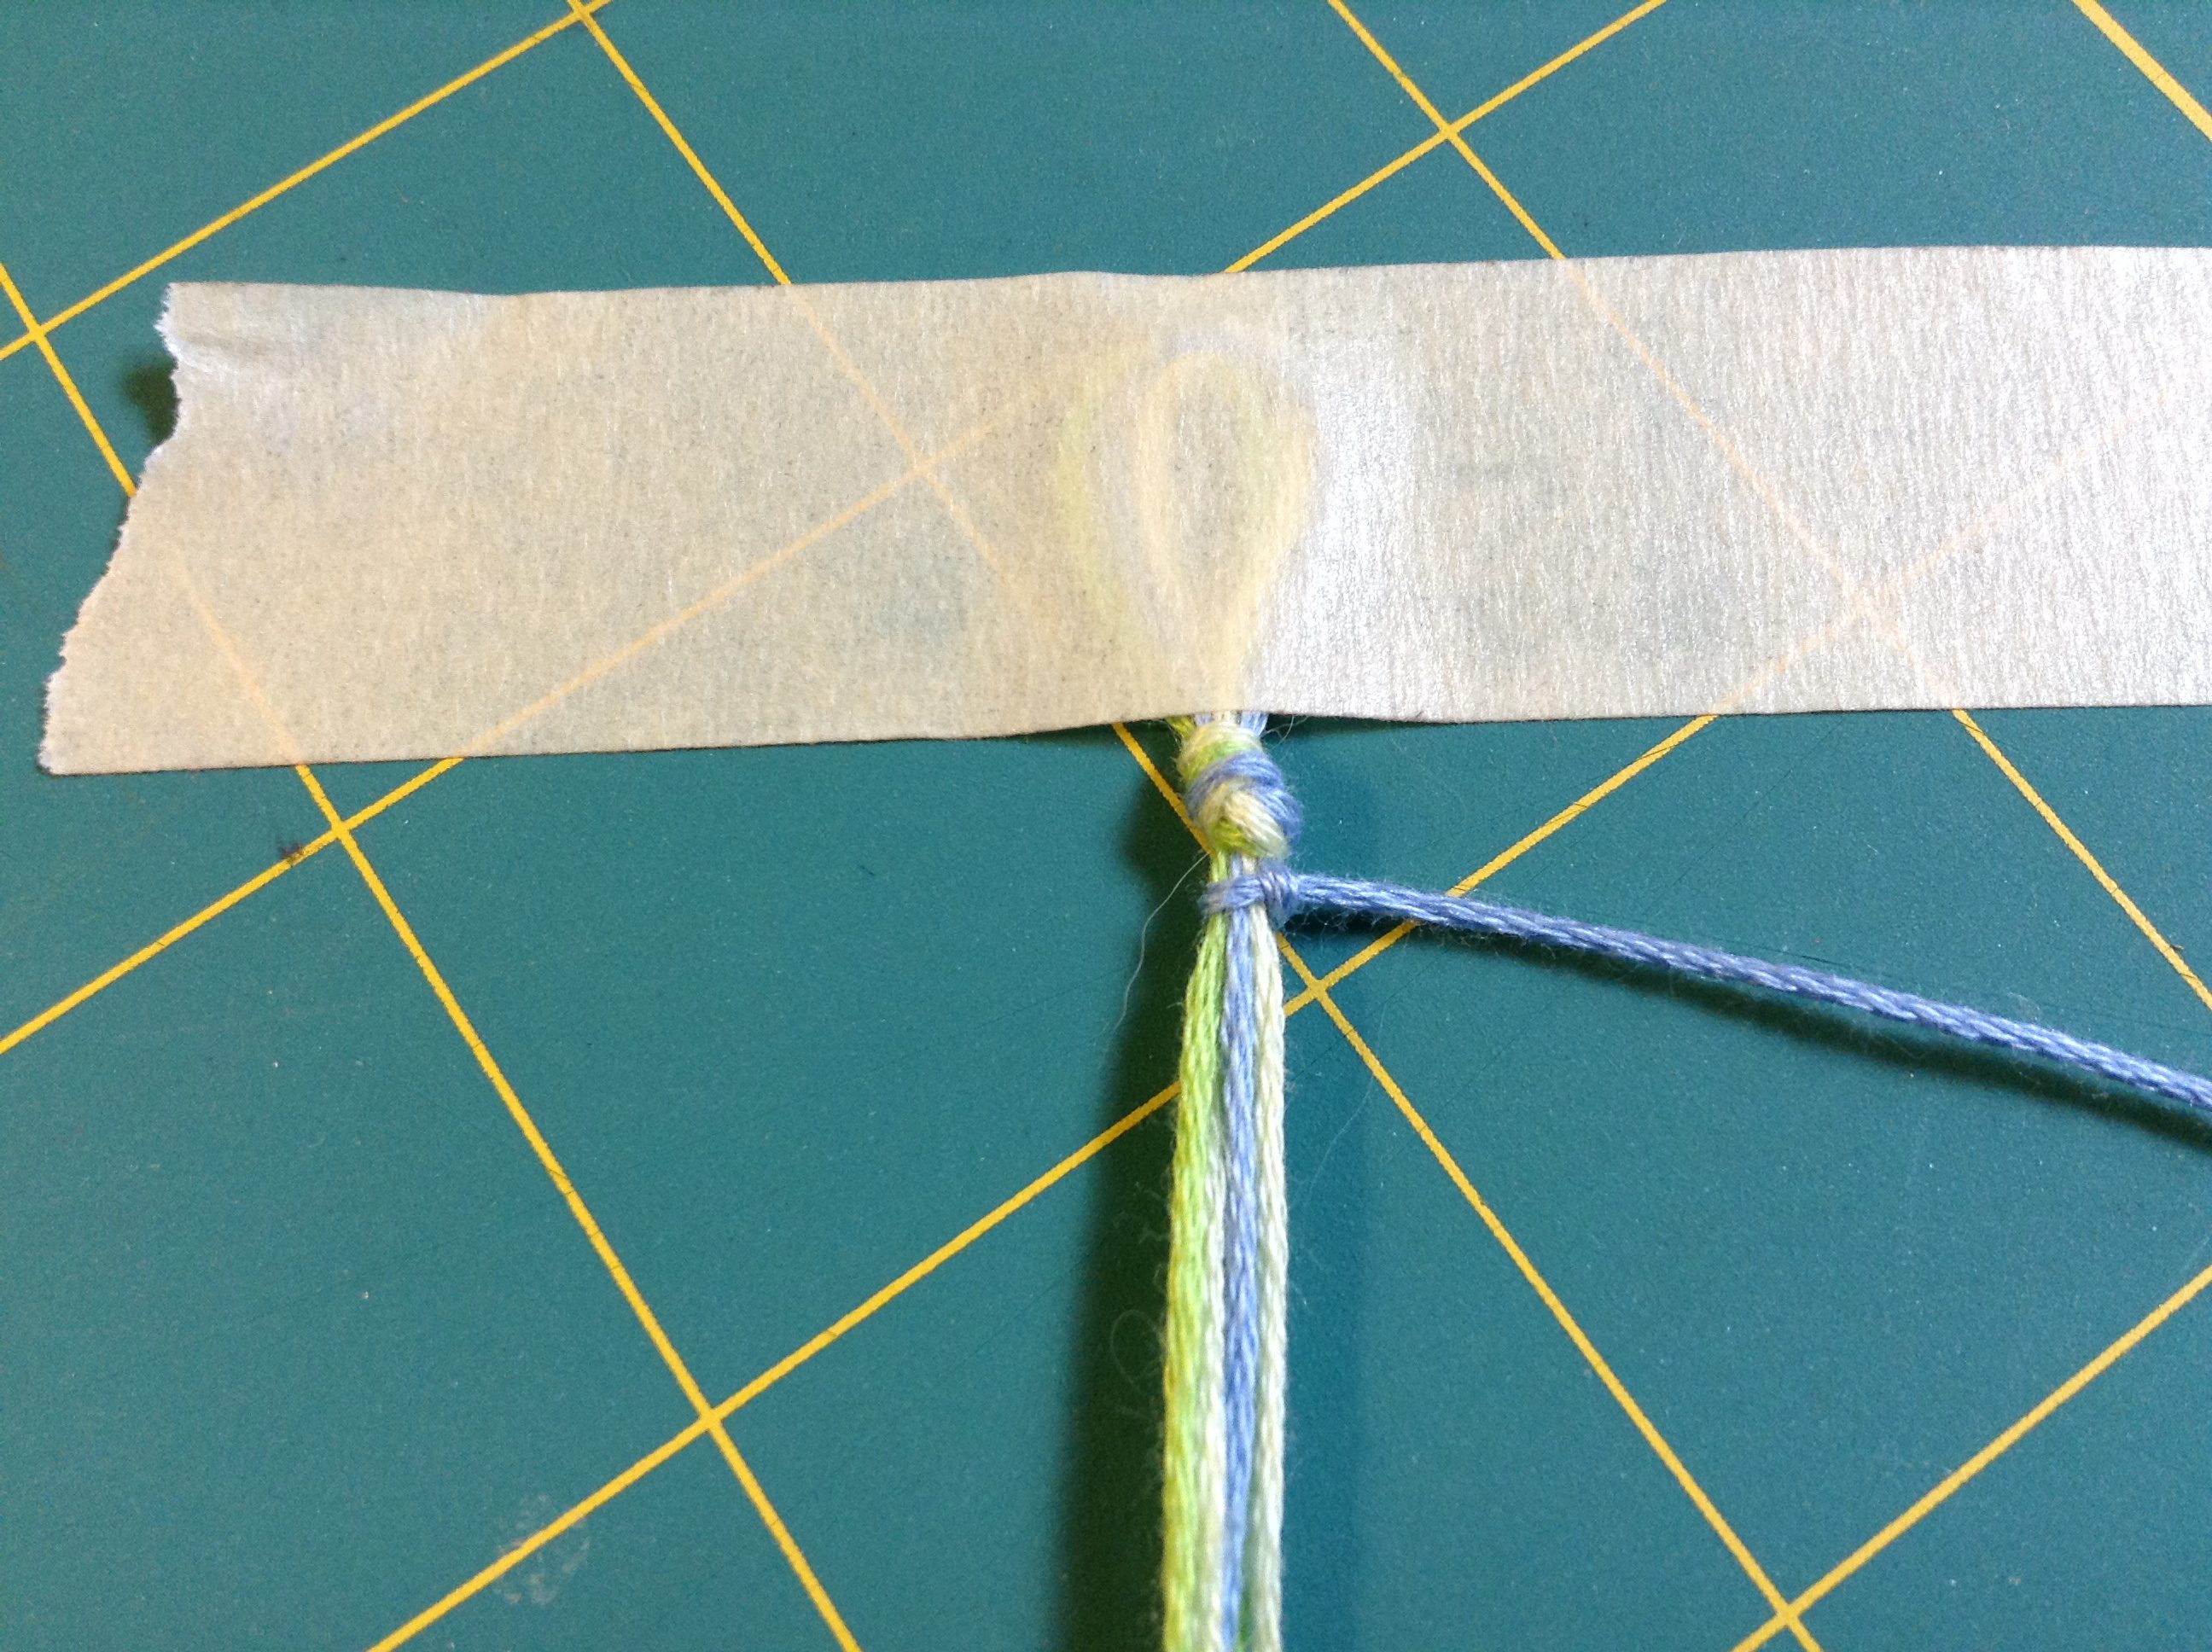
Tie a loop knot, large enough for the end knot to pass through.

Tape your loop knot to your work surface and collect all but one strand of floss to the left, leaving one strand of floss off to the right.
Take the floss you have on the right and cross it over the bundle on the left.
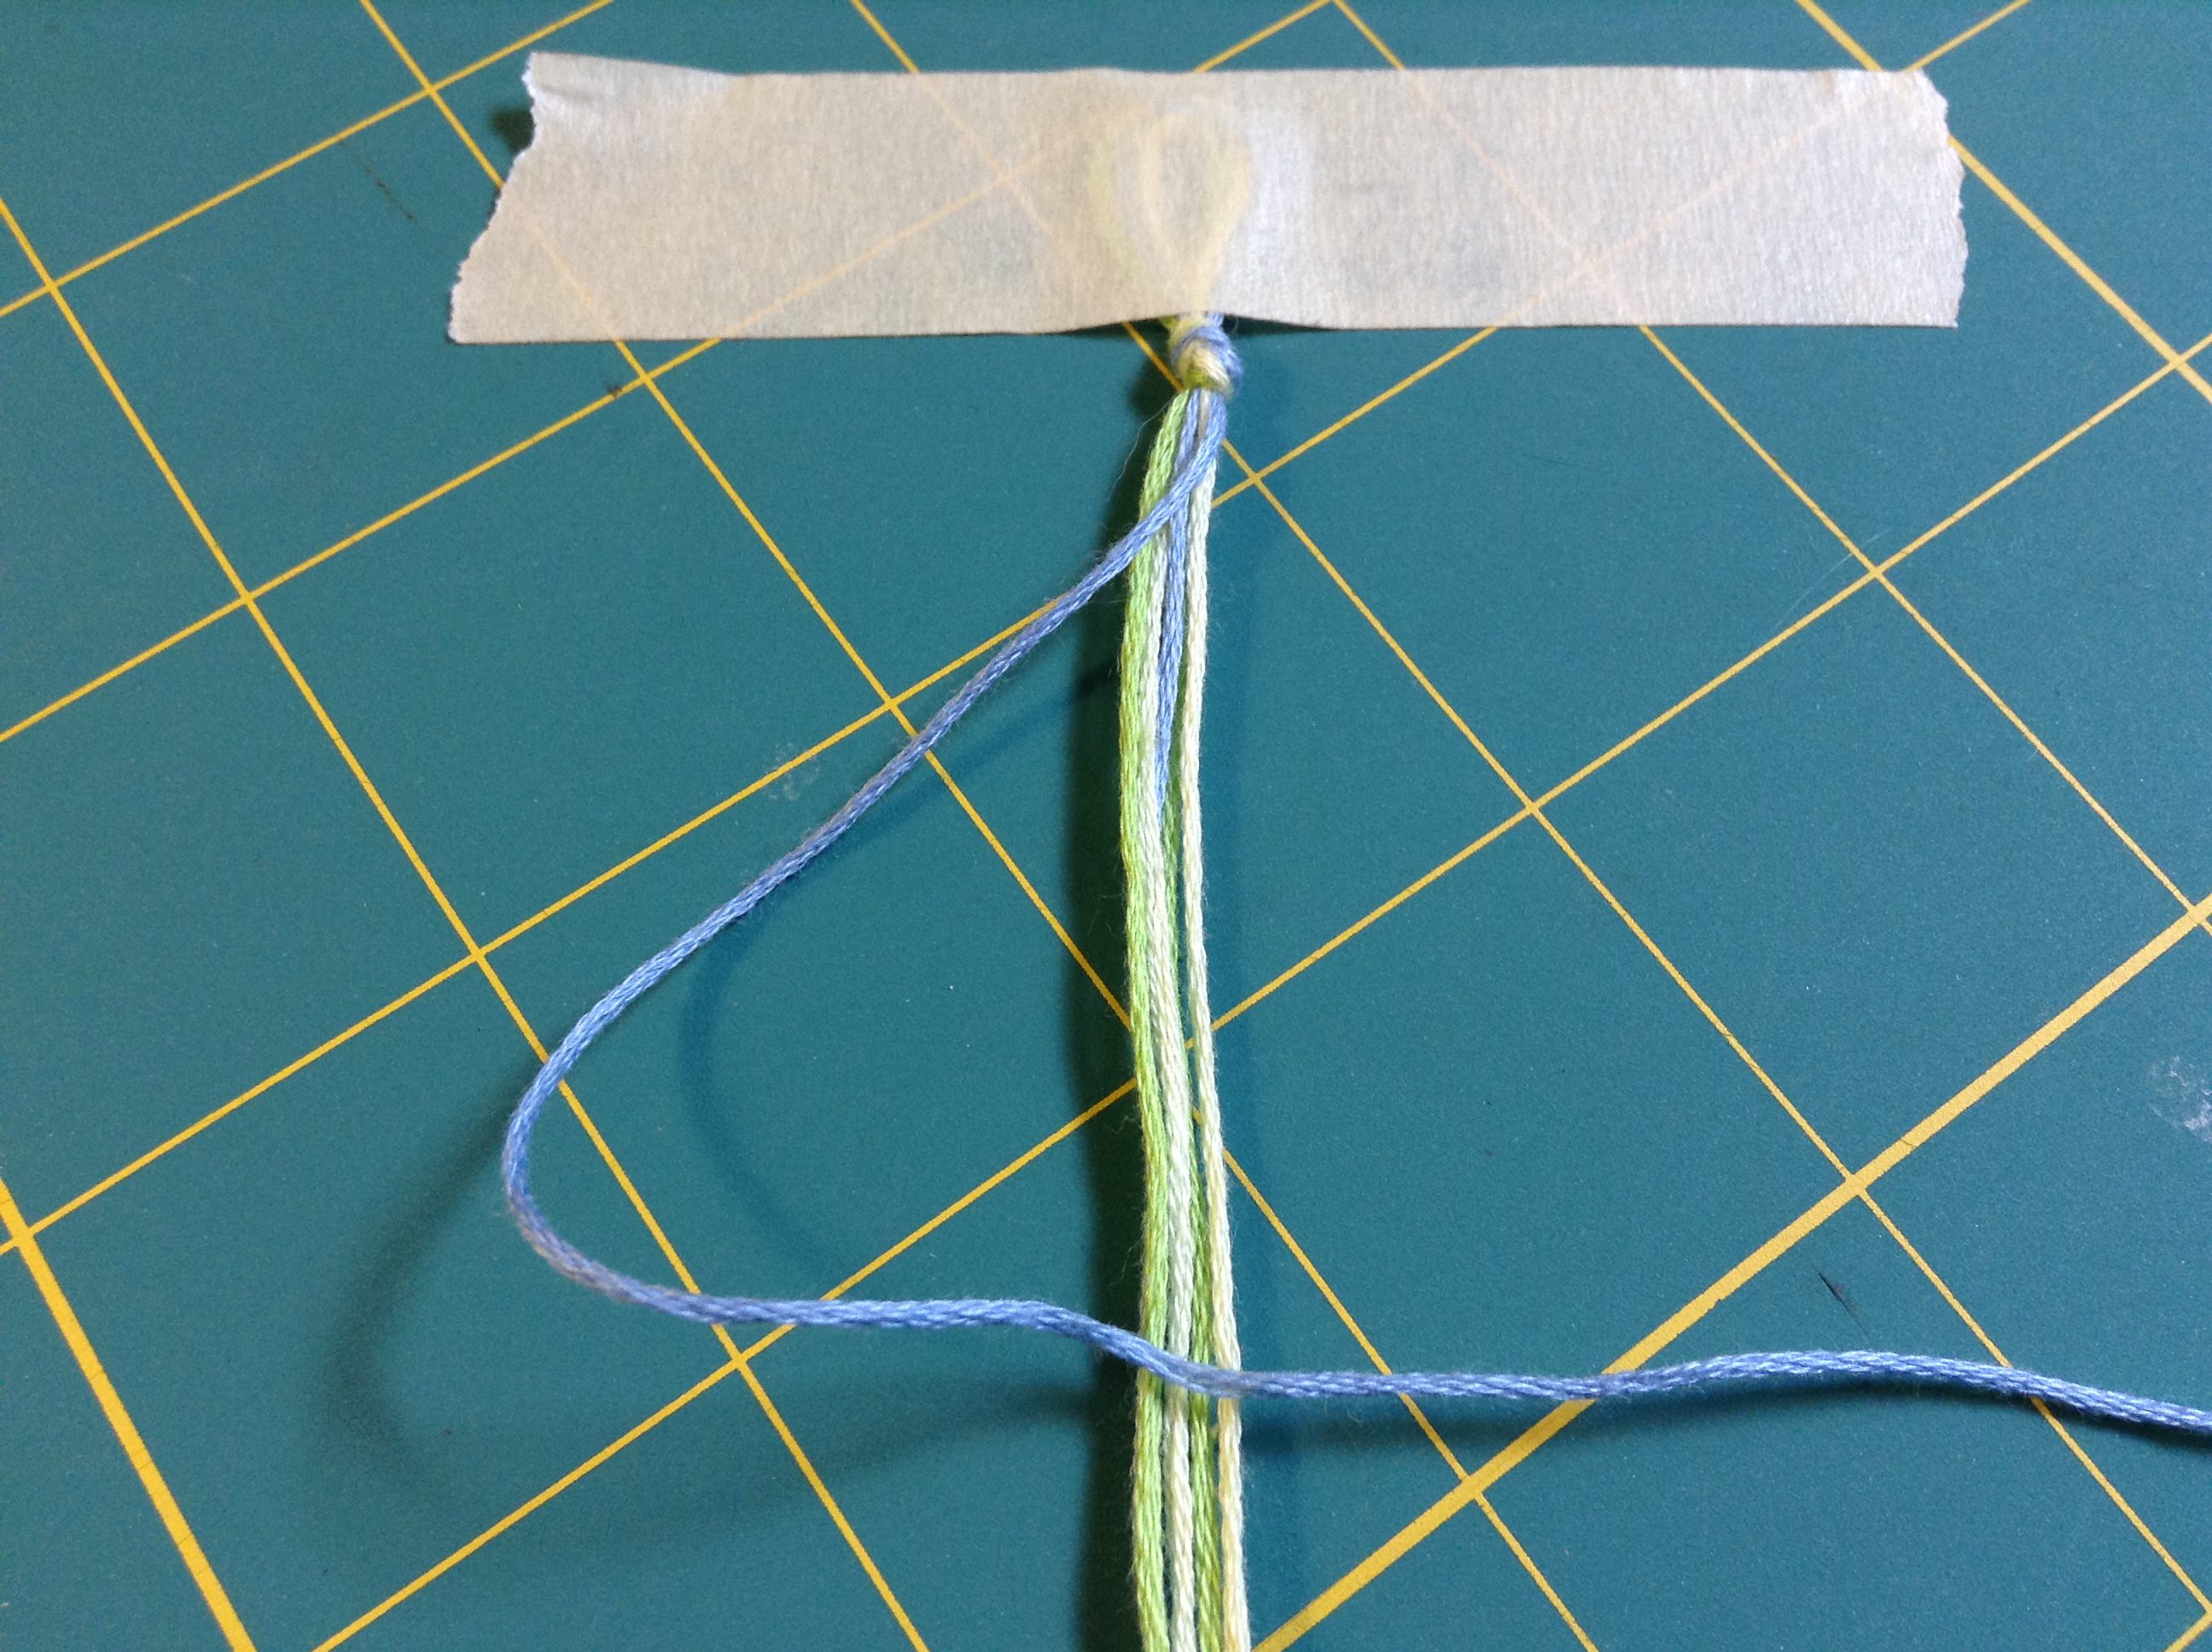
Next pass it back over the bundle, creating a loop to the left. Pass it under the bundle and up through the loop.
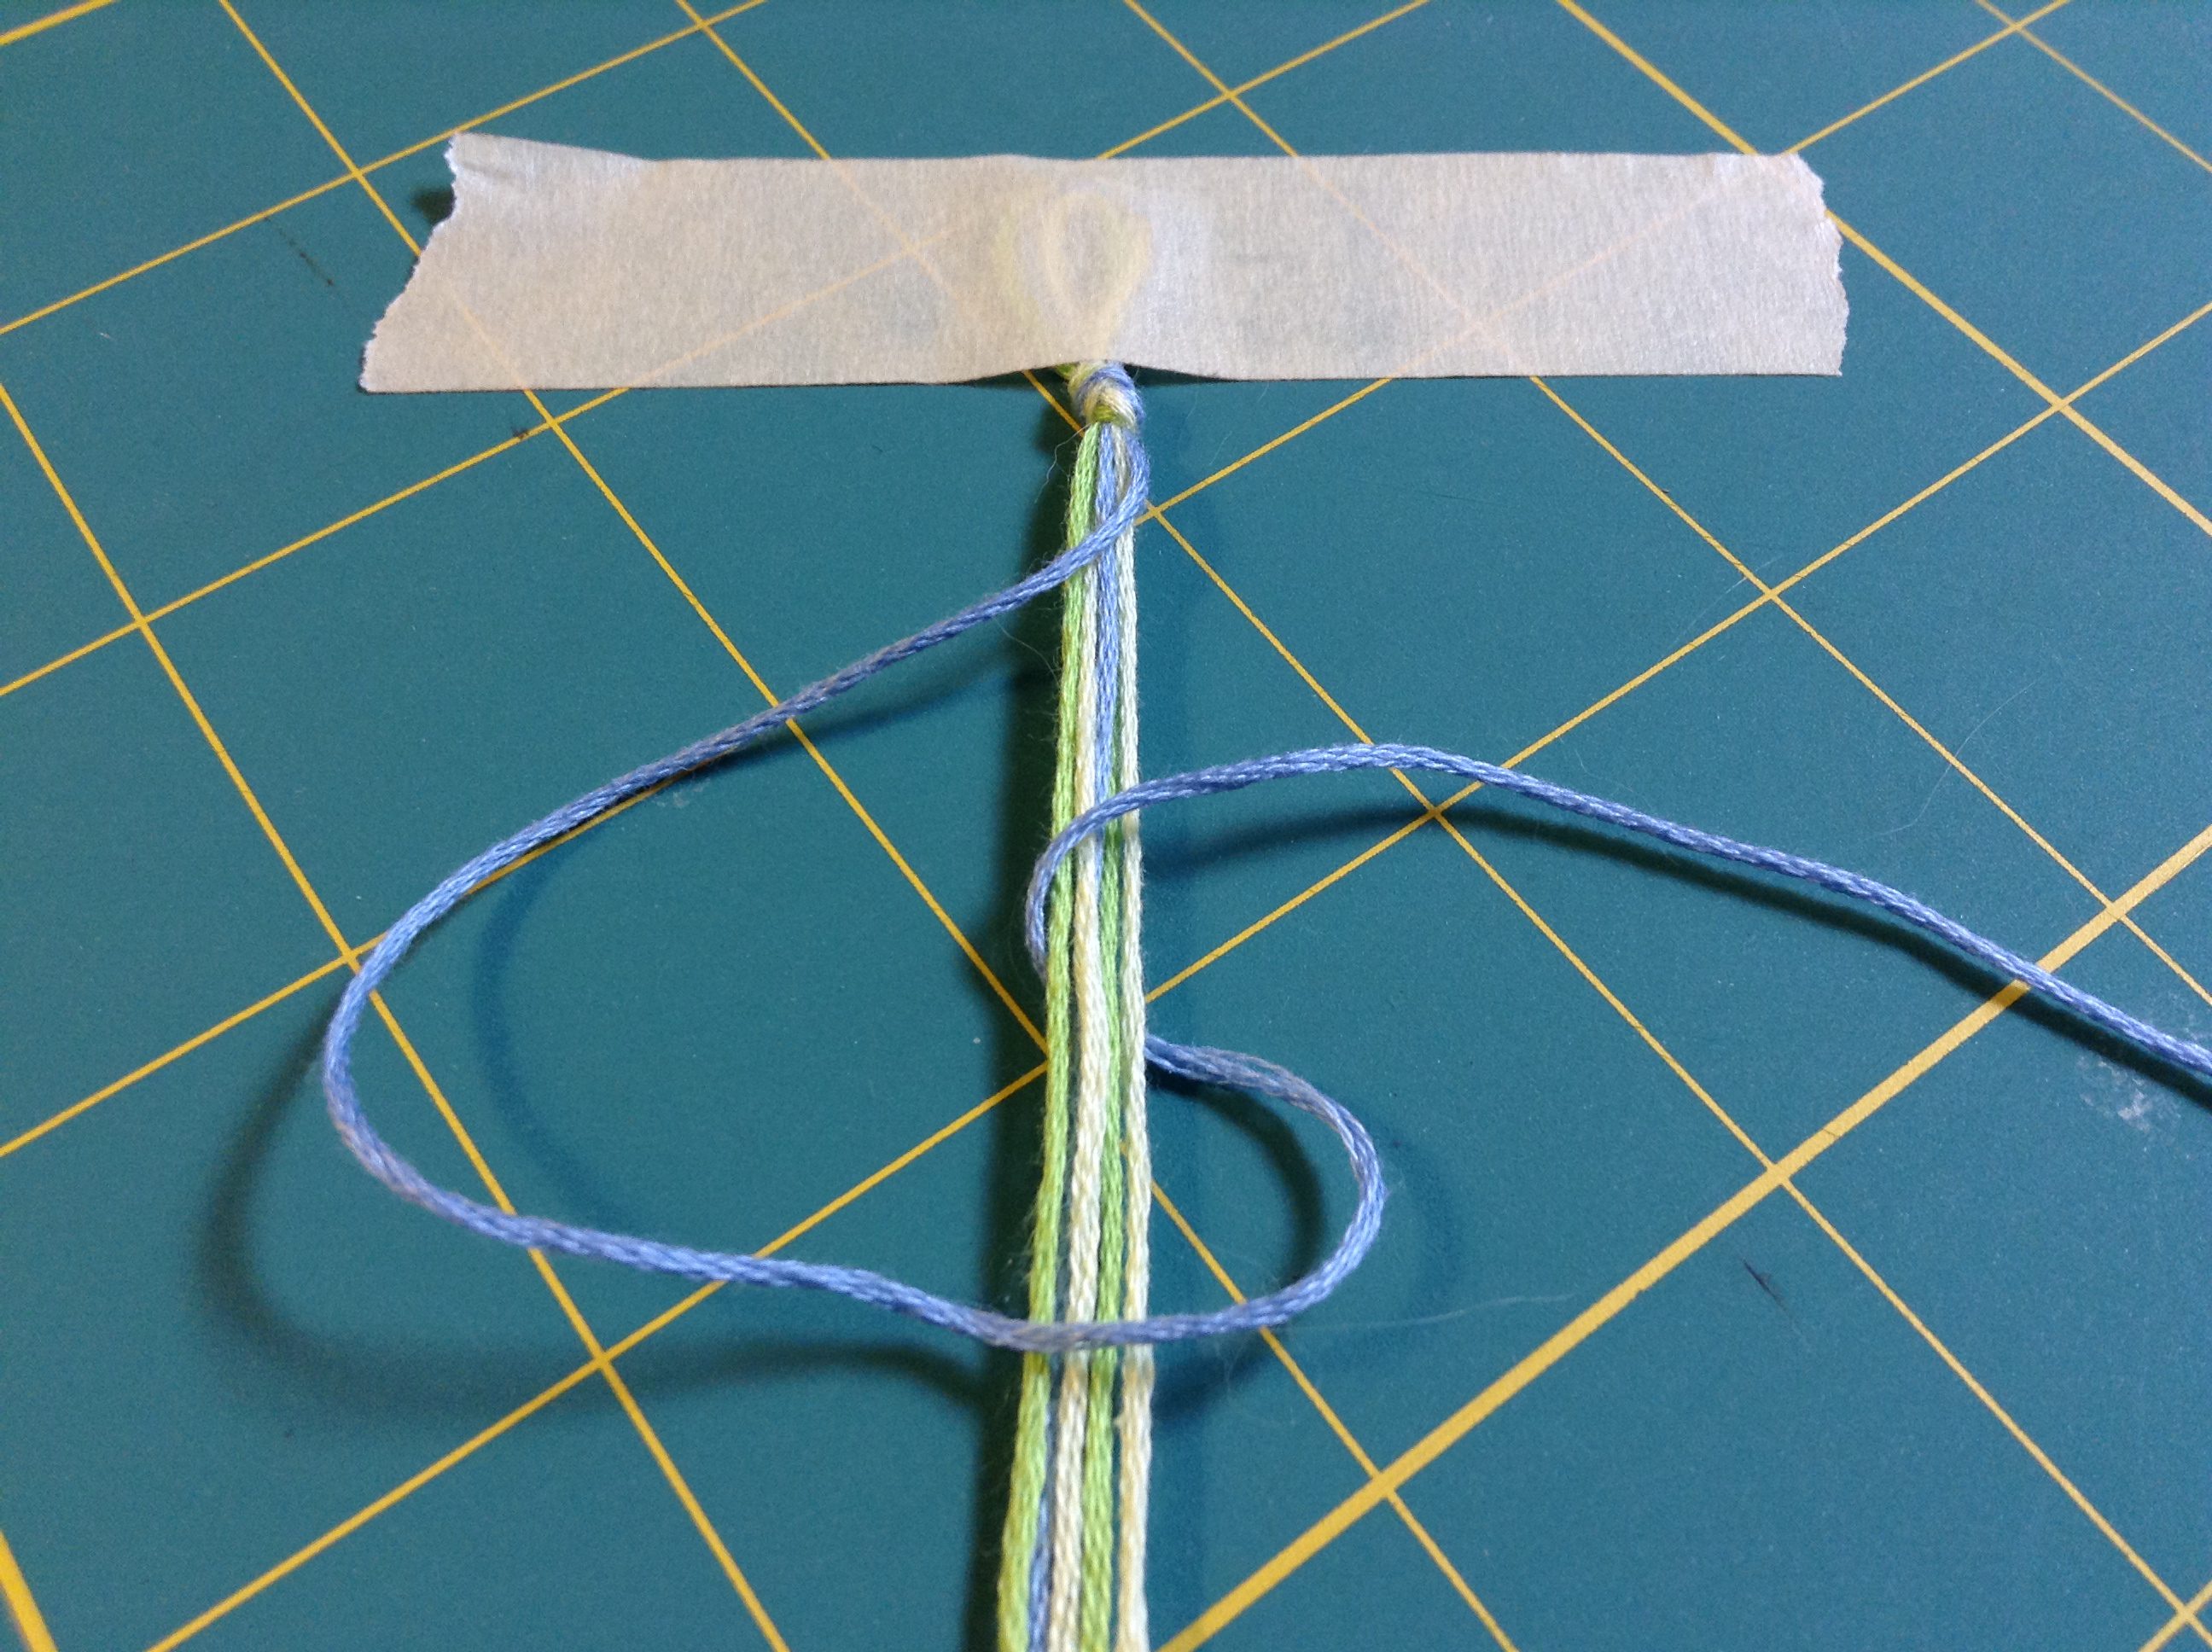
Pull the knot tight and slide it to the top of the bundle.
Continue making this knot with the same colour floss until you have made as many knots as you desire. I chose to do 10. When you are ready to change colours, simply return the colour you were working with to the bundle and pull out your next colour. Repeat with the cross over, around, under and through.
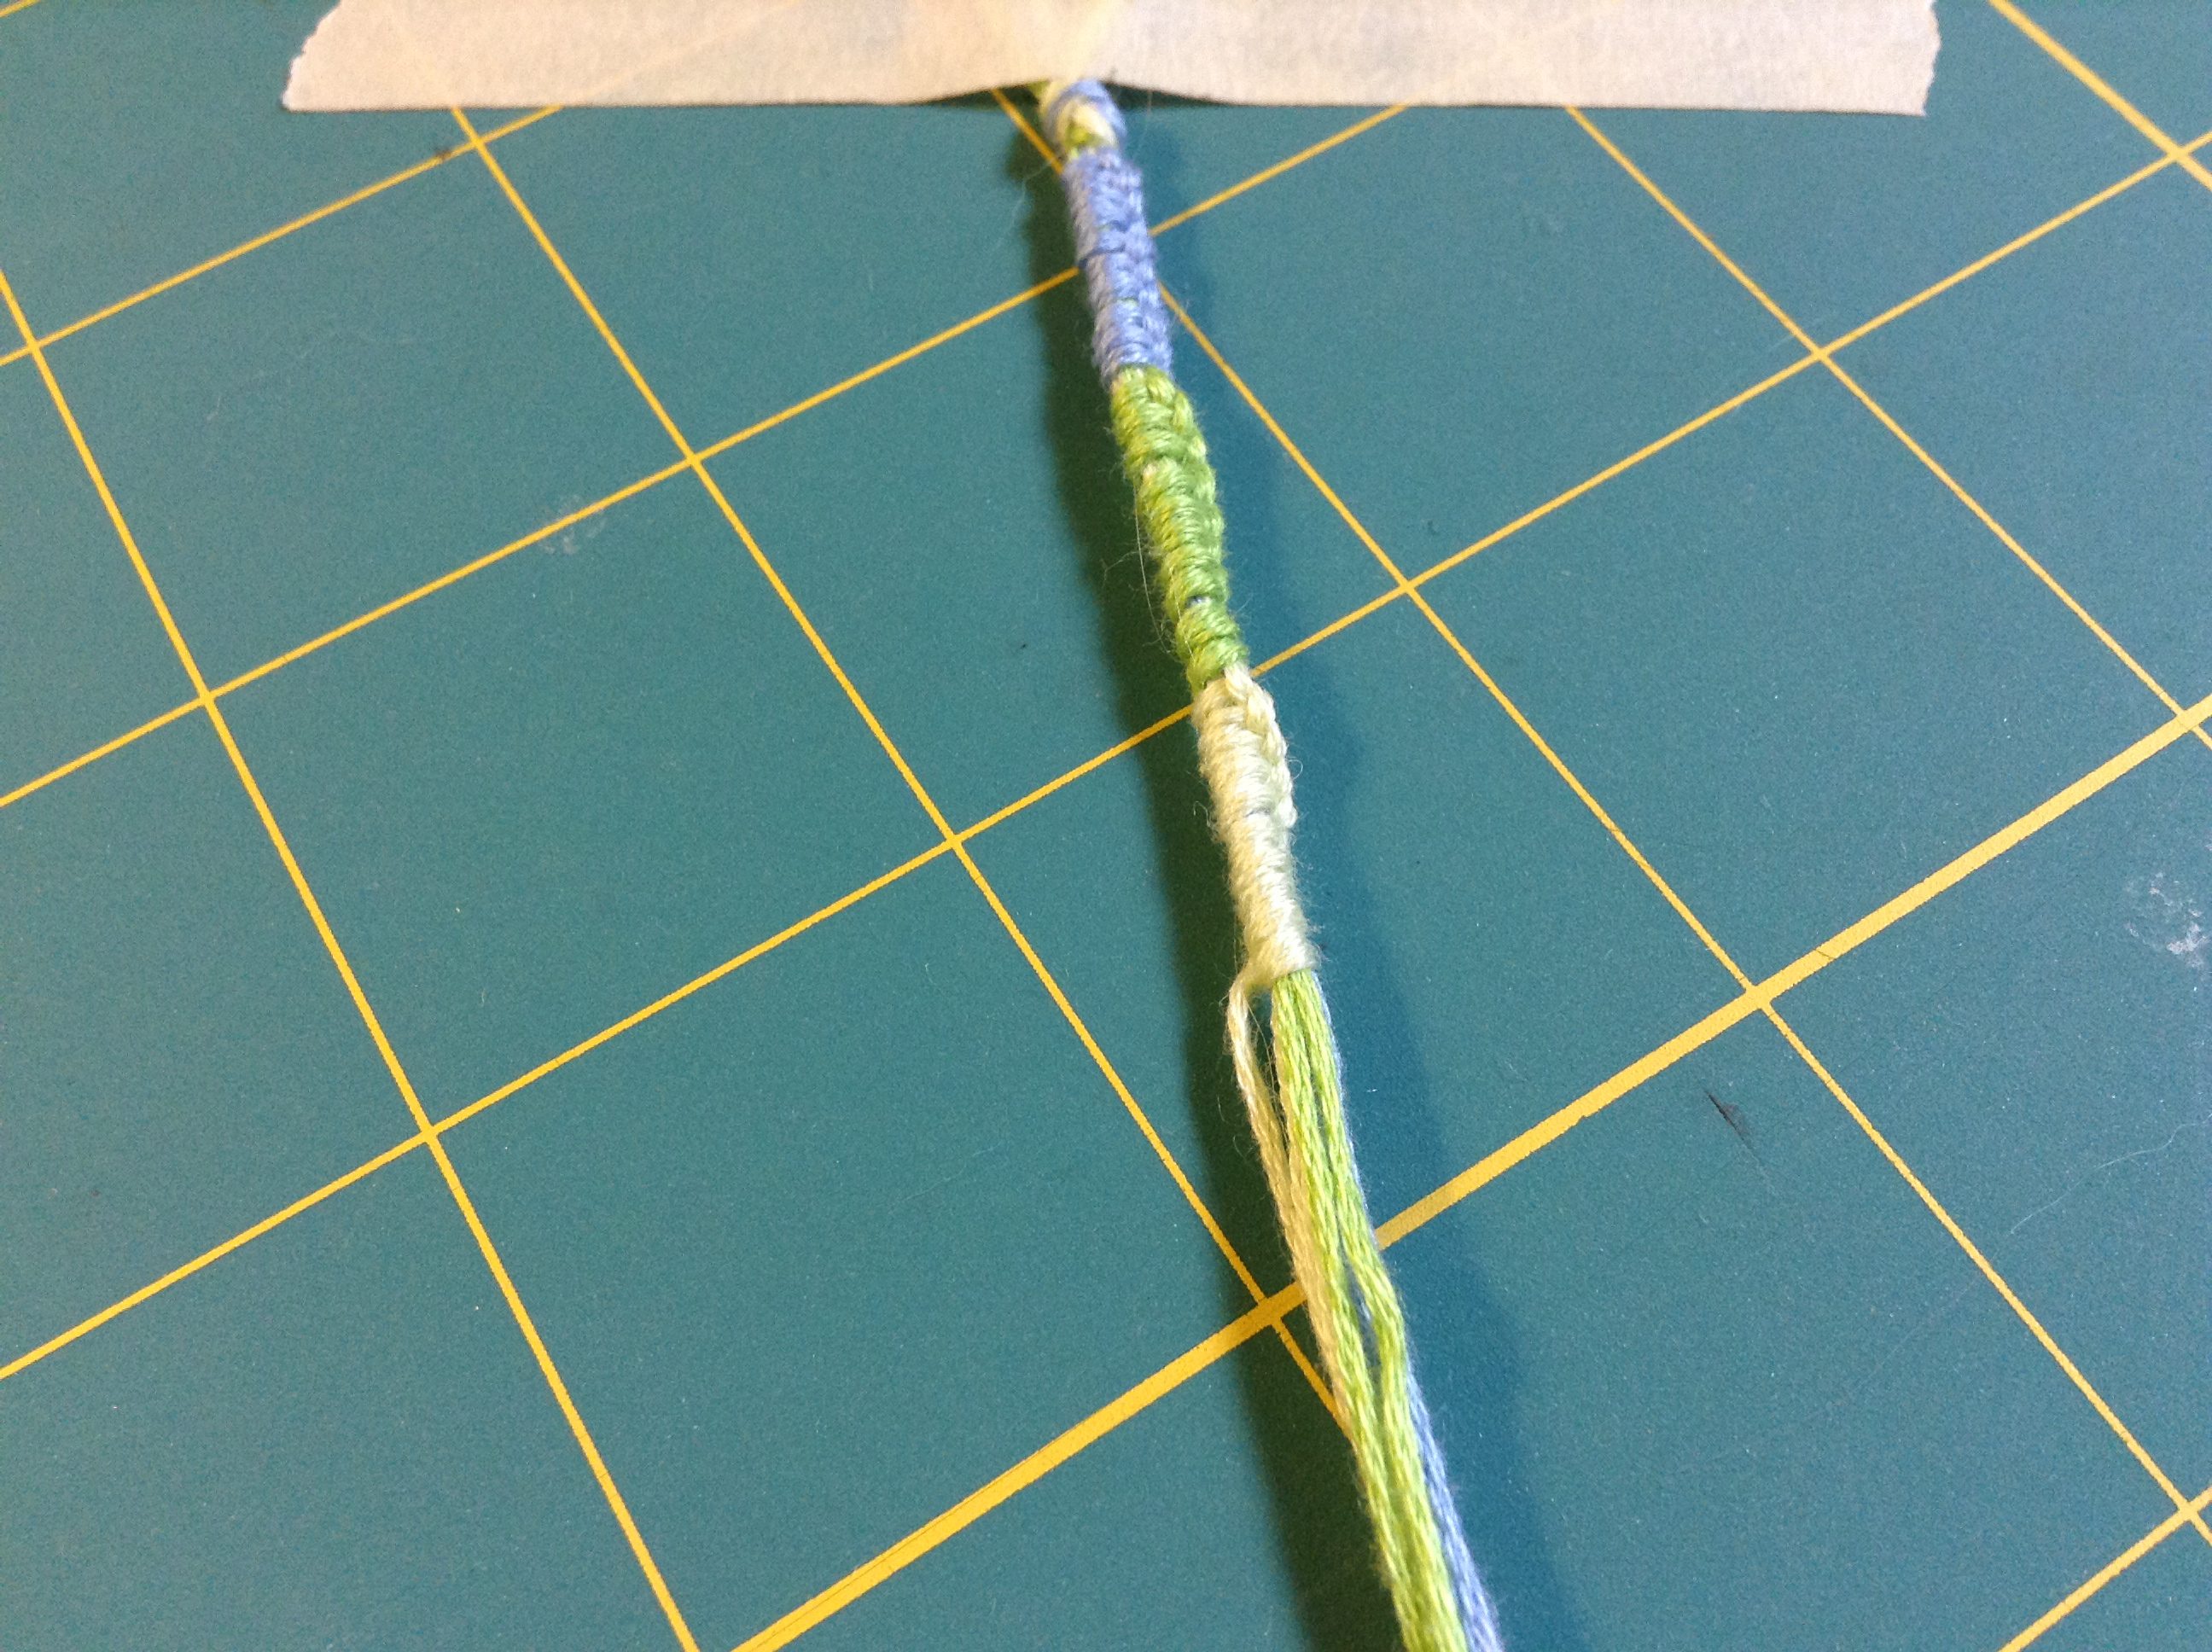
The knots will twist around the main bundle as you tie them.
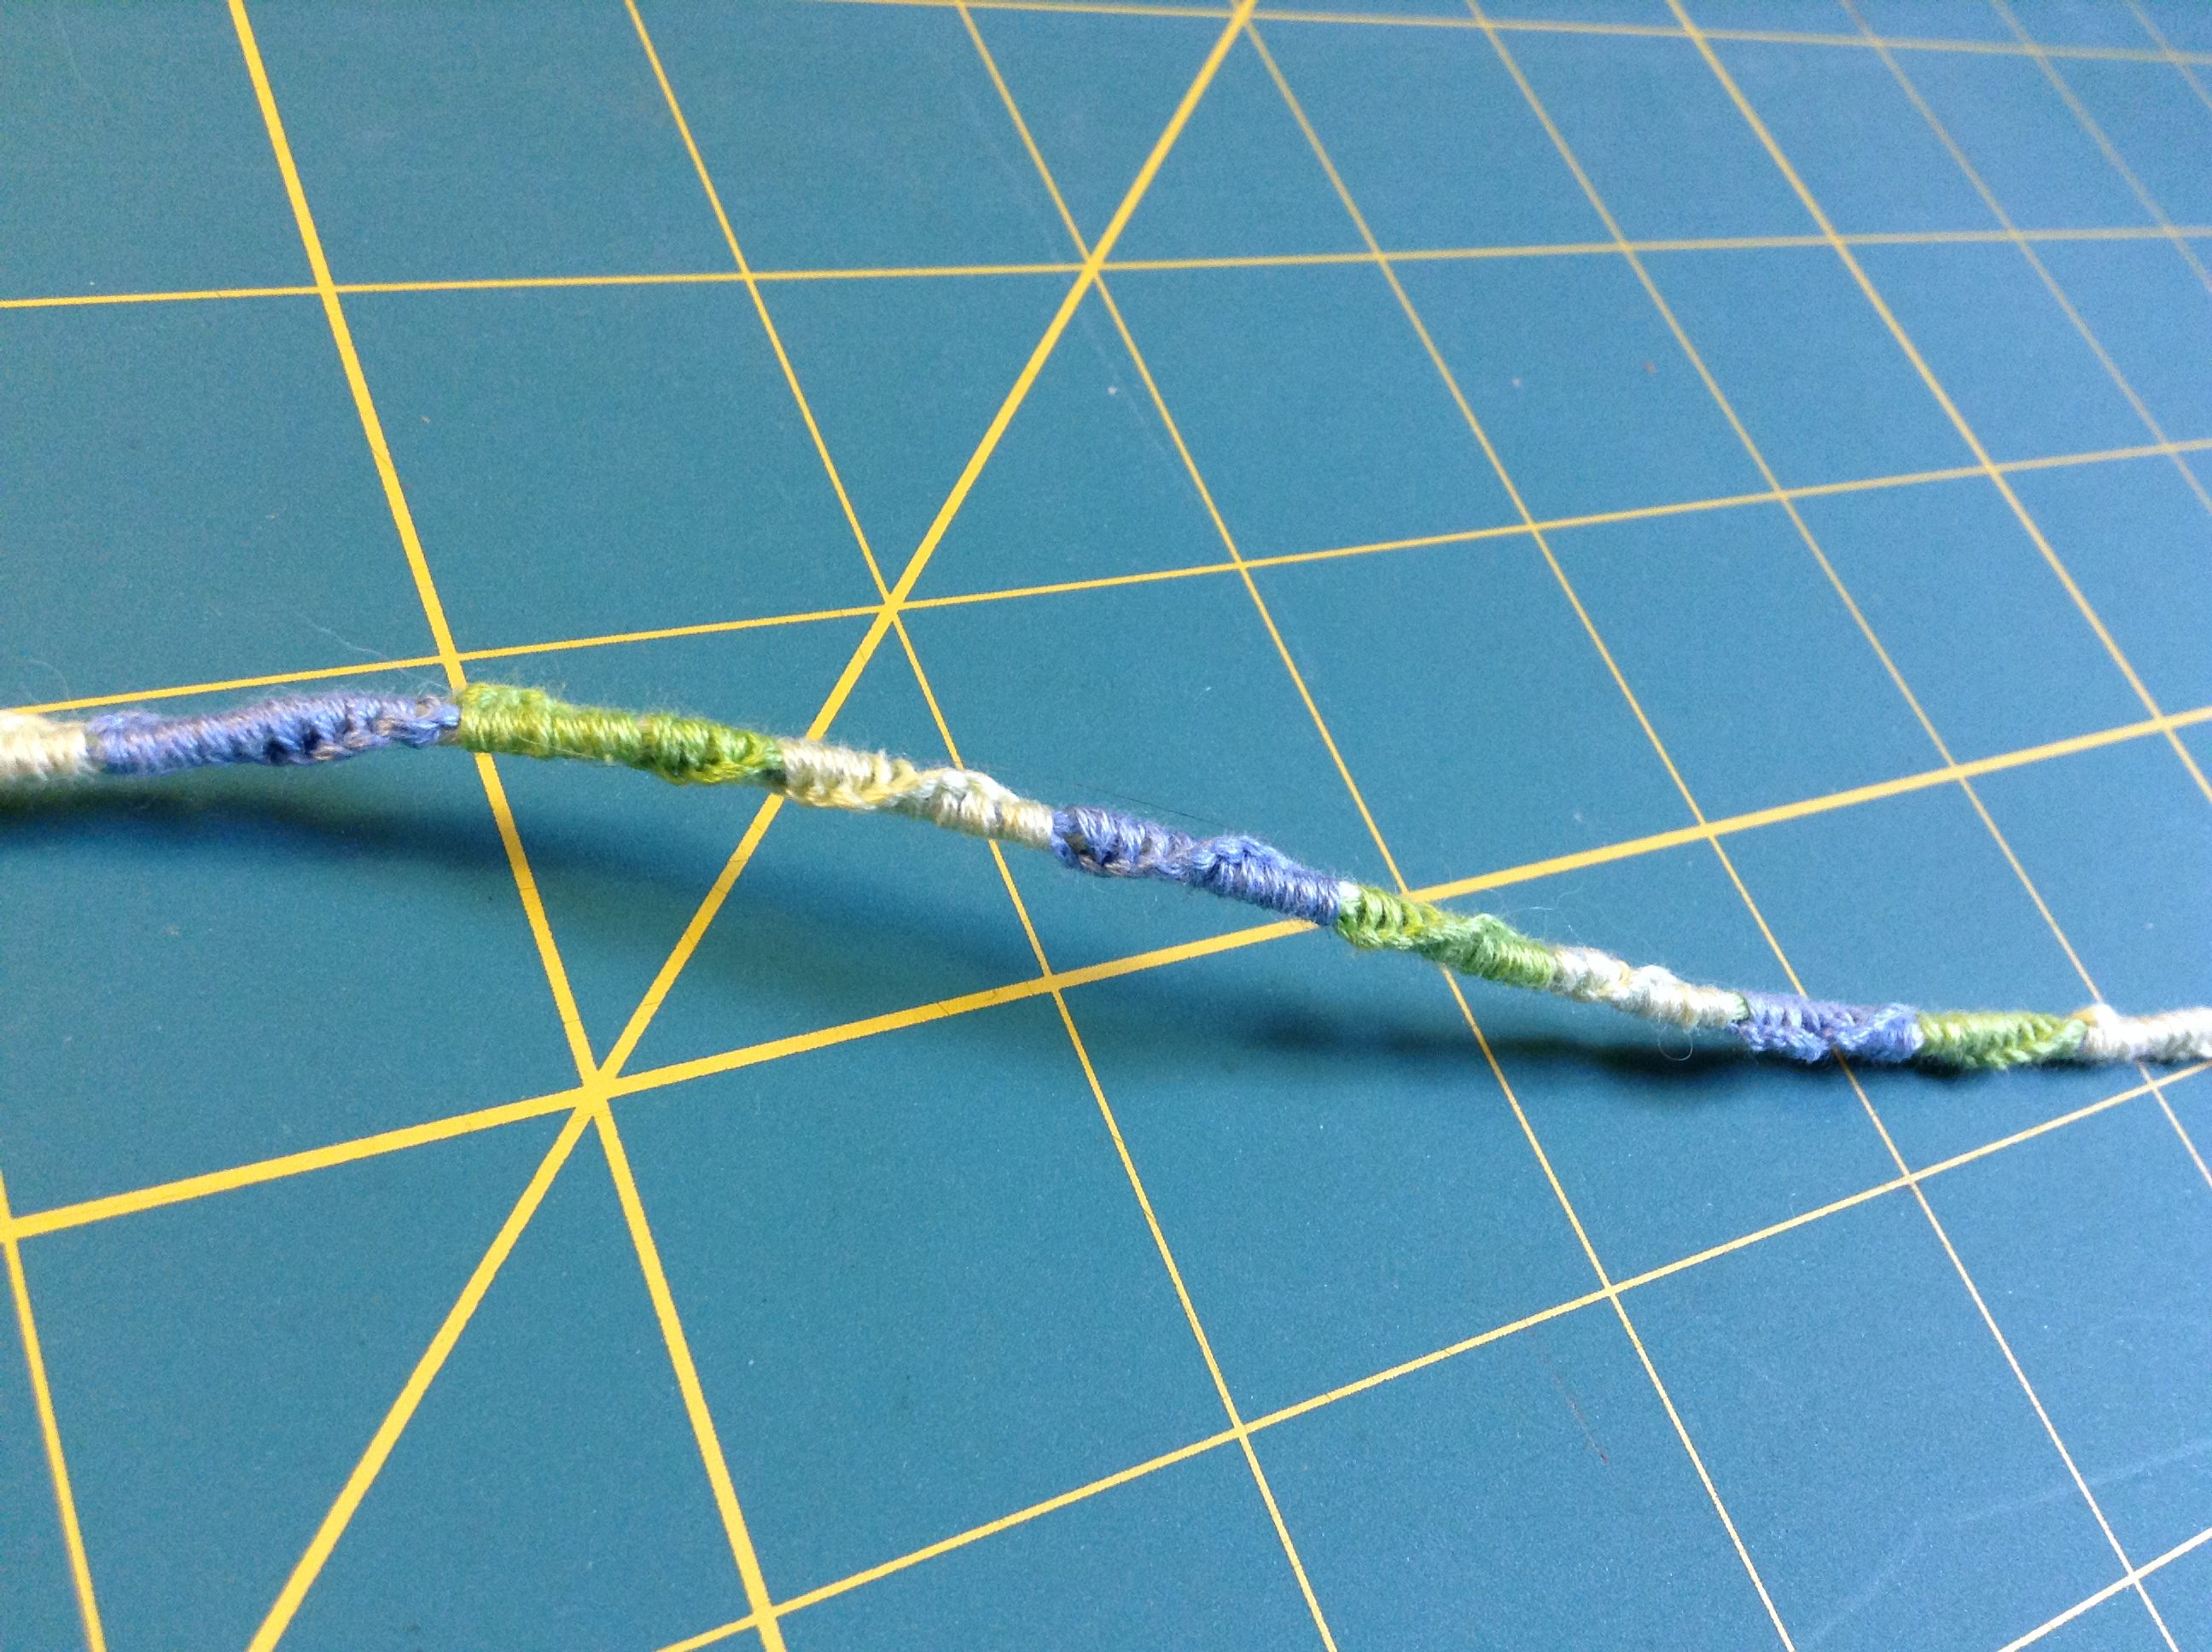
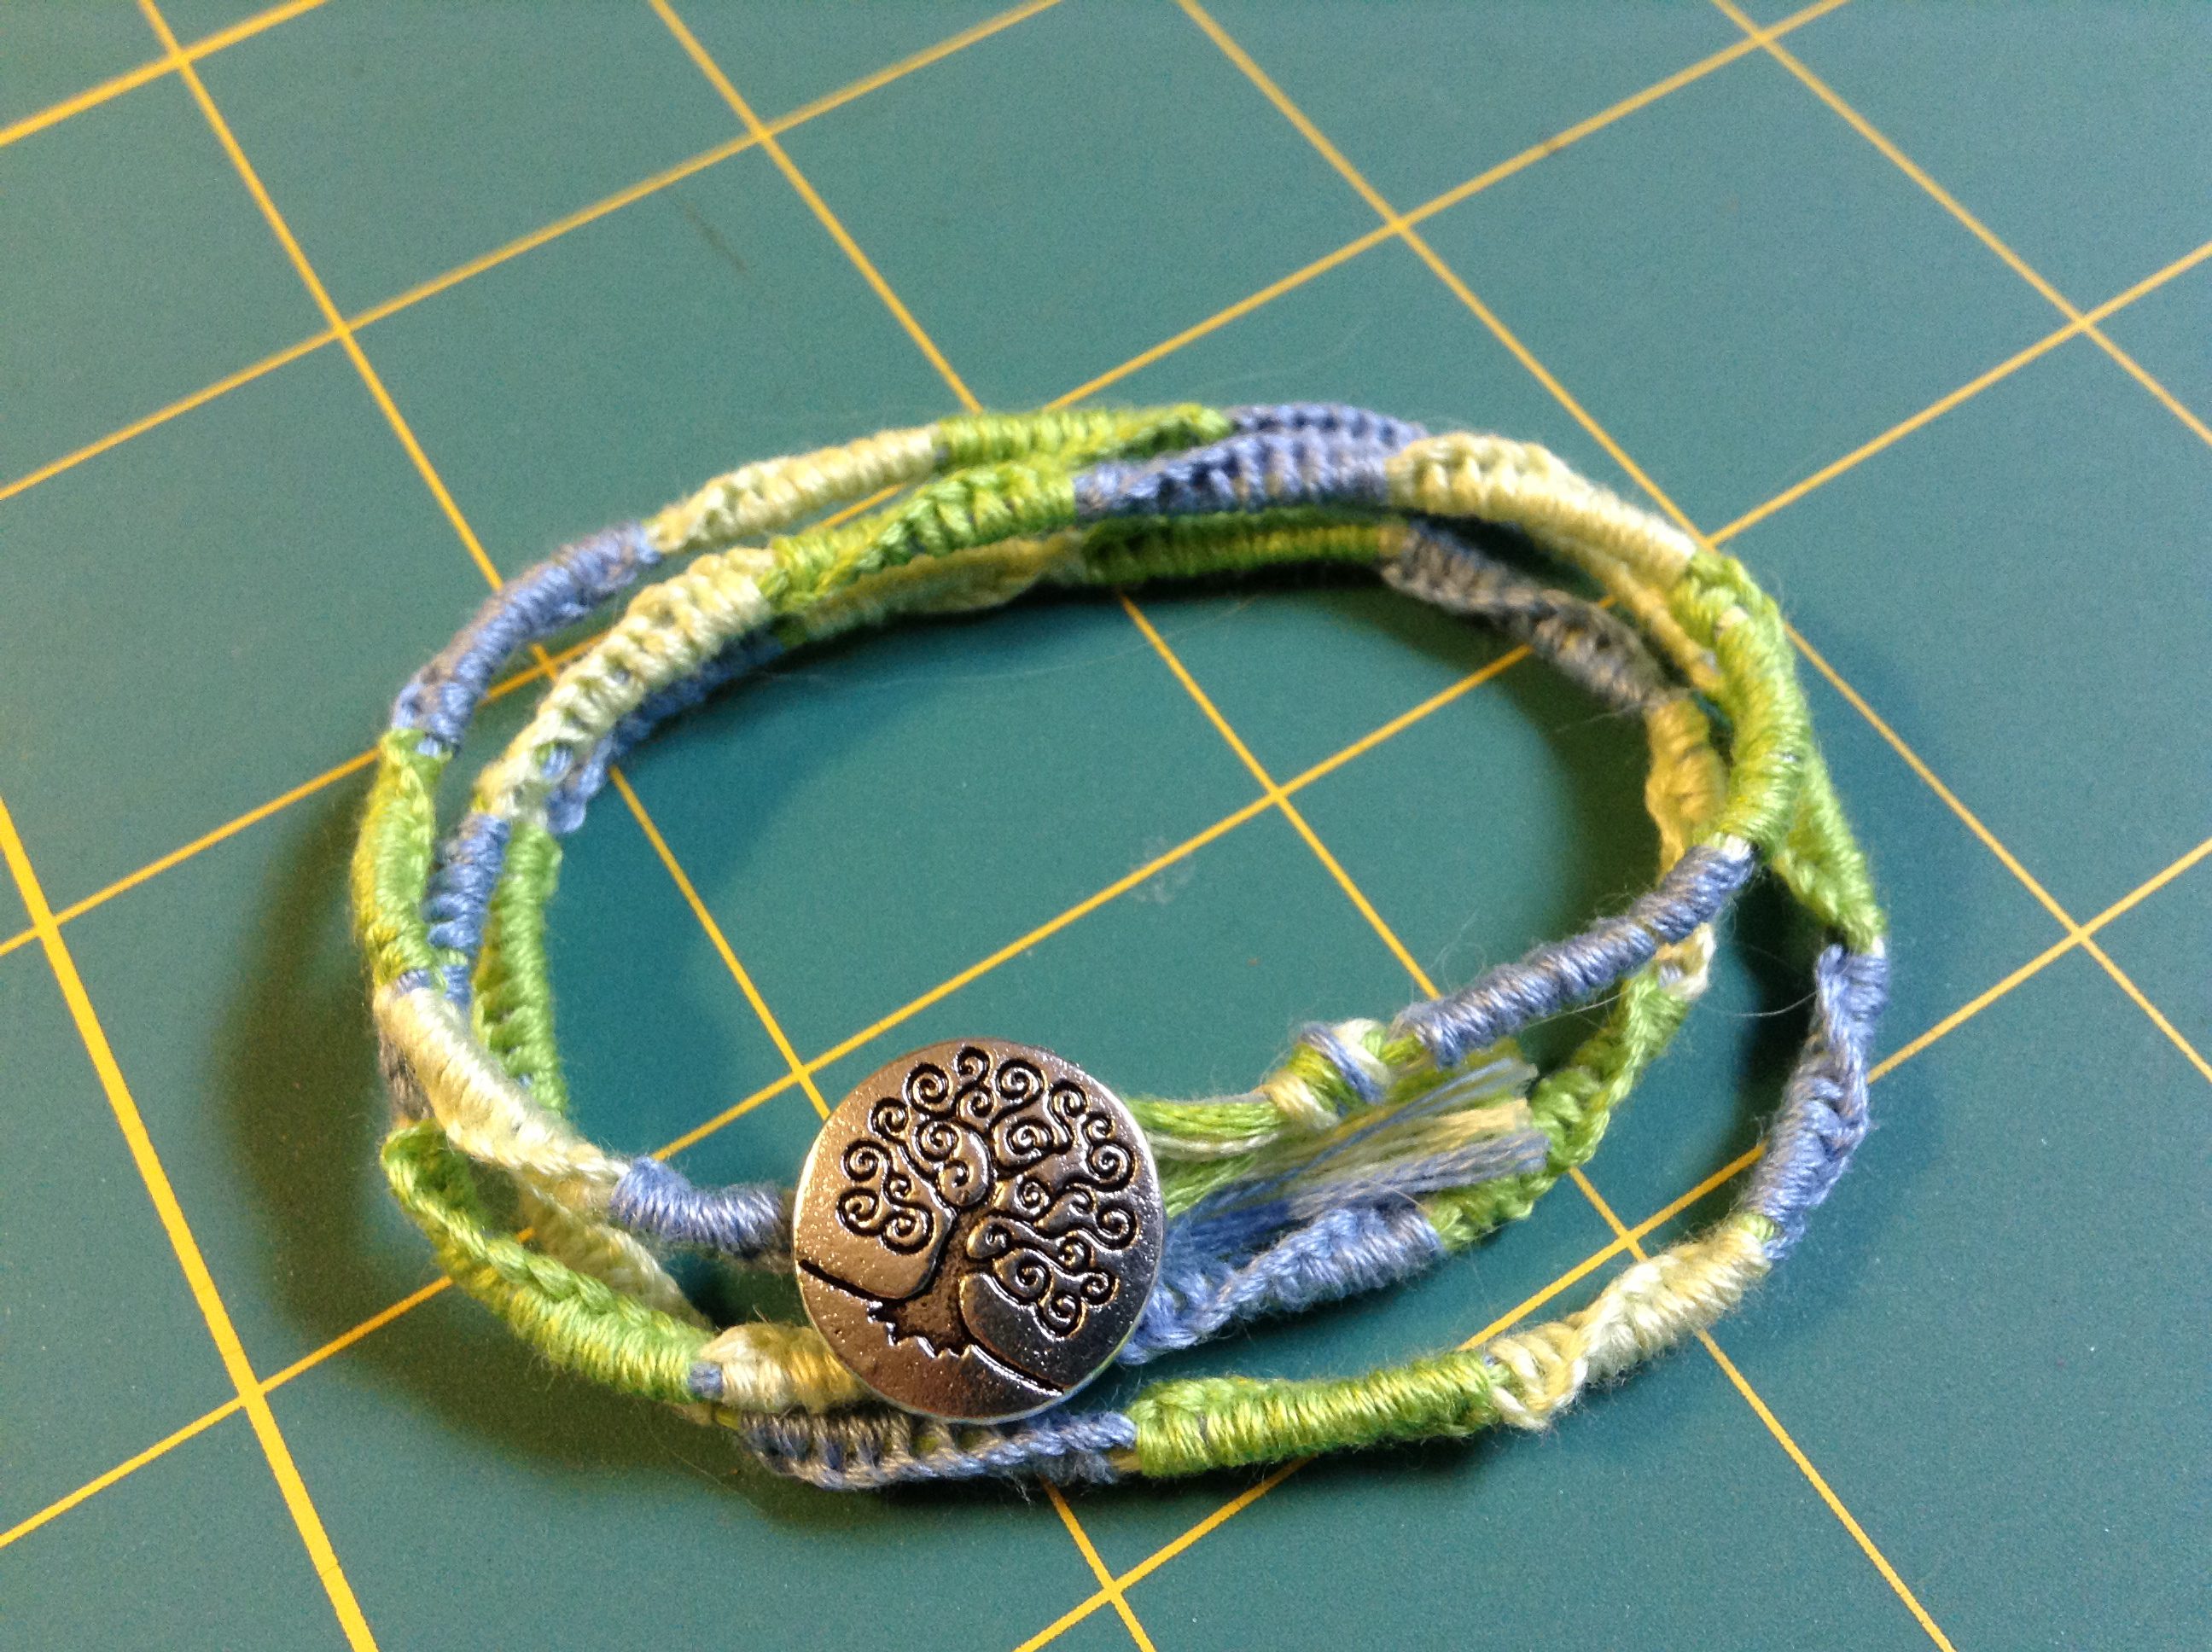
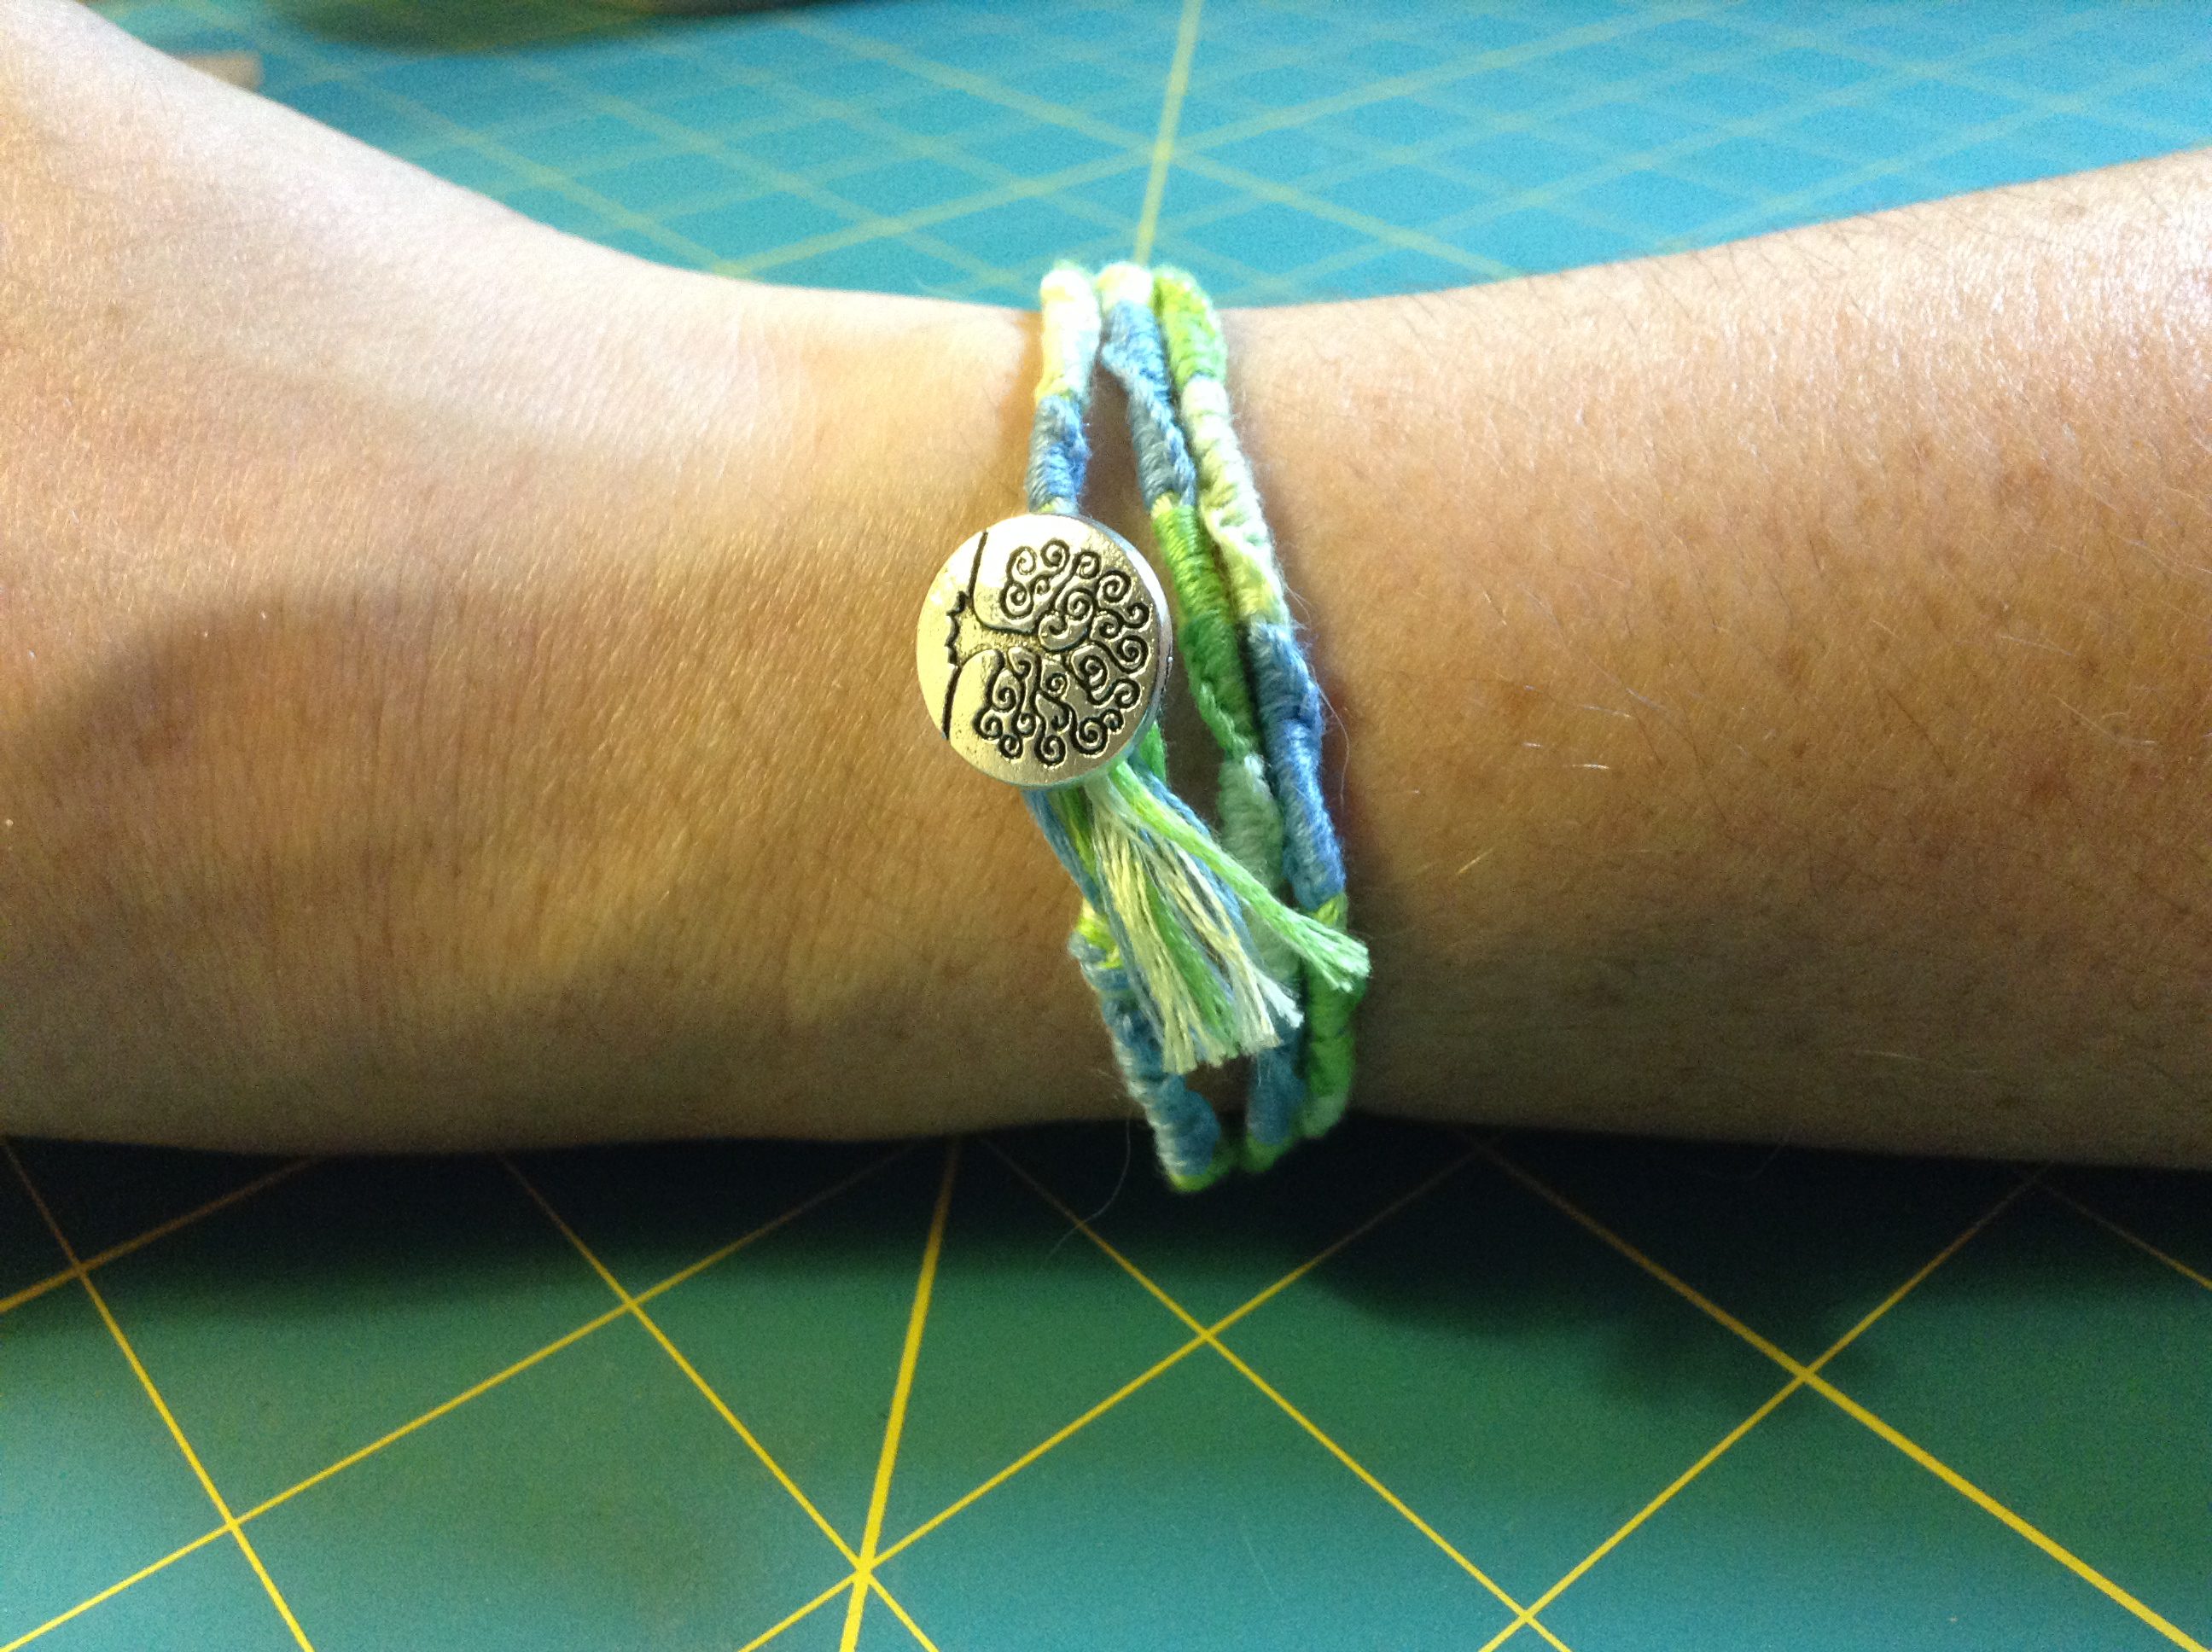
When you have reached your desired length, tie off with a knot and you have completed your project. I happened to have a shank button that I tied to the end.